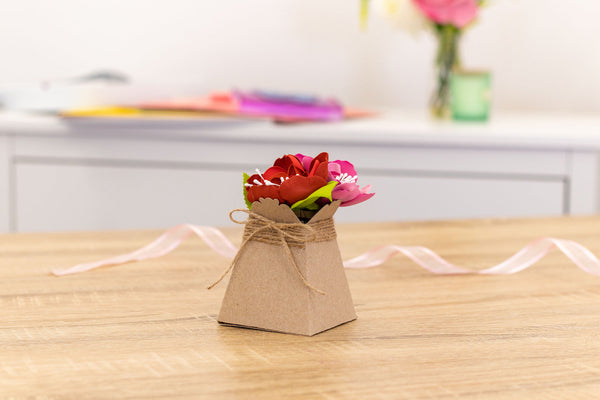
Tutorial: Trinket Box
- Read time: 2 minutes
- Written by: admin

Design Team member Rachel Weber recently made a fantastic tutorial on how to create a Trinket Box and has graciously allowed us to re-post here!
Crafter’s Companion UK Supplies:


Directions:

Step 1: print all of the pages out (print two of the second page, it does tell you at the top of the page that you need two).

Step 2: Start by making the drawers (these are labelled ‘box base’). Cut these out and the wraps first, then score along all the lines using a scoreboard such as the Ultimate Pro and burnish all of the creases.

Step 3: Snip along the solid lines on the drawers, and then glue the triangle tabs inside. This will form your drawers.

Step 4: Now you have your drawers, you need to make the wraps for them, so fold these up and glue along the small end and adhere this inside.

Step 4a: Put a drawer inside each, you may want to do this as the glue dries so that you can make sure that the wrap fits well (if you use a wet glue you have a little wiggle time before it’s set). You can use brads through the white dots at the front for handles, or punch holes and thread a loop of ribbon, a tassel, or even a button.

Step 5: Cut out the two squares of card on the first page of the trinket box. Glue your boxes to one of these so that there is a narrow border all the way round the drawers, you might want to dry arrange them before using glue to stick in place.

Step 6: Cut out the card, which is page 3 of the design, and score and burnish along the dotted lines.

Step 7: Fold this so that the image is facing up on the base, this forms the easel top of your design.

Step 8: Cut out the topper page of your design and create your easel design.

Step 9: Glue your easel to the drawer base you have made.

Step 10: Once you have your easel on the base, you need to create a stop for the topper so that it stands up – there is a strip on the card page (page 3) of the design which you can use, raised up onto foam or 3D glue gel, or your can create rolled flowers from the last two pages of the design.
Step 11: Add any other embellishments as desired.
Share a Trinket Box you make with us on our Facebook page, tag us on Instagram (#crafterscompanion) or on Twitter (@CraftersCompUK)!