Tutorial: Church Window Card
- Read time: 3 minutes
- Written by: admin

Have you sen the newest additions to our Die’sire Classiques collection? The Christmas Classiques will get you off to the perfect start for all of your festive cardmaking and other projects.
Samantha made a fabulous tutorial to give you a bit of inspiration using these new dies. See how she did it:
Crafter’s Companion UK supplies:


Directions:
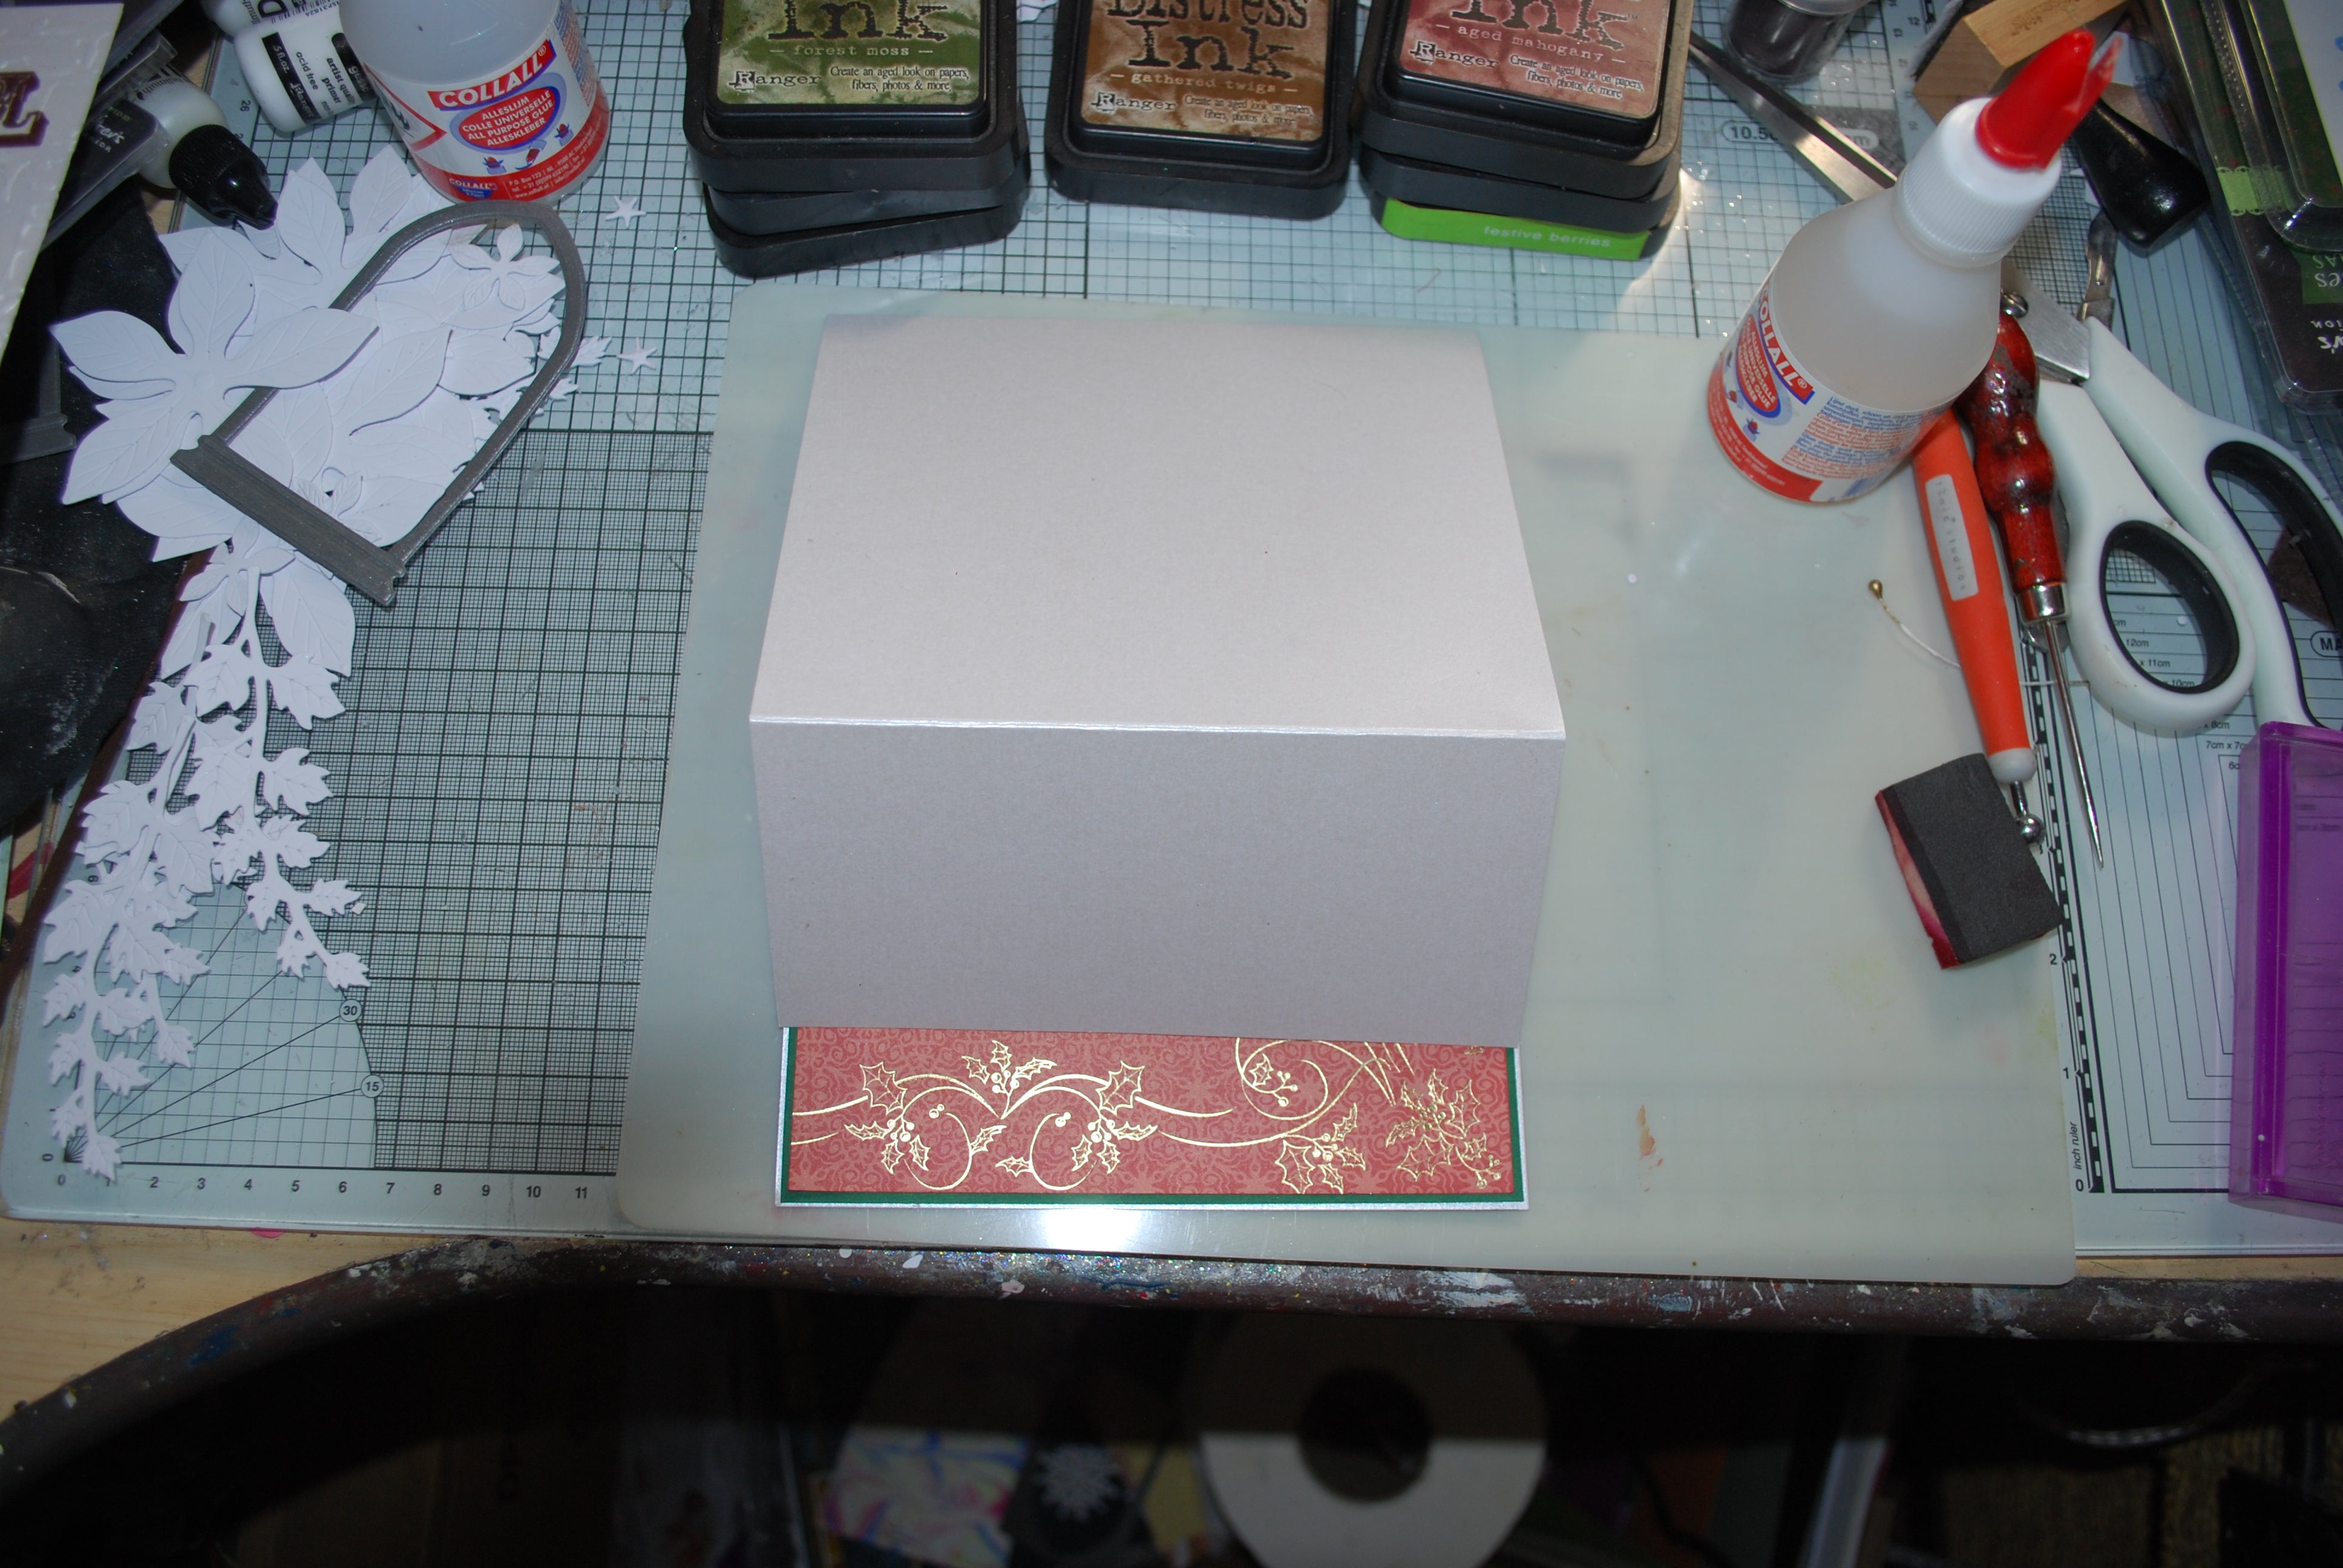
Step 1: Make a 7 x 5” card blank with Centura Pearl card. Line the inside of the card with some red Christmas paper from your stash and then score the front piece at about 3” from the bottom and fold to make an easel card

Step 2: Cut out the church window in grey card. Take a 7 x 5” piece of centura pearl and on the back draw around the inside of the window lightly in pencil. Cut this out with a craft knife to make an aperture

Step 3: On the front of the card stamp your sentiment and emboss – I have used a sentiment from the Sentimentals range ‘Happy Holidays’
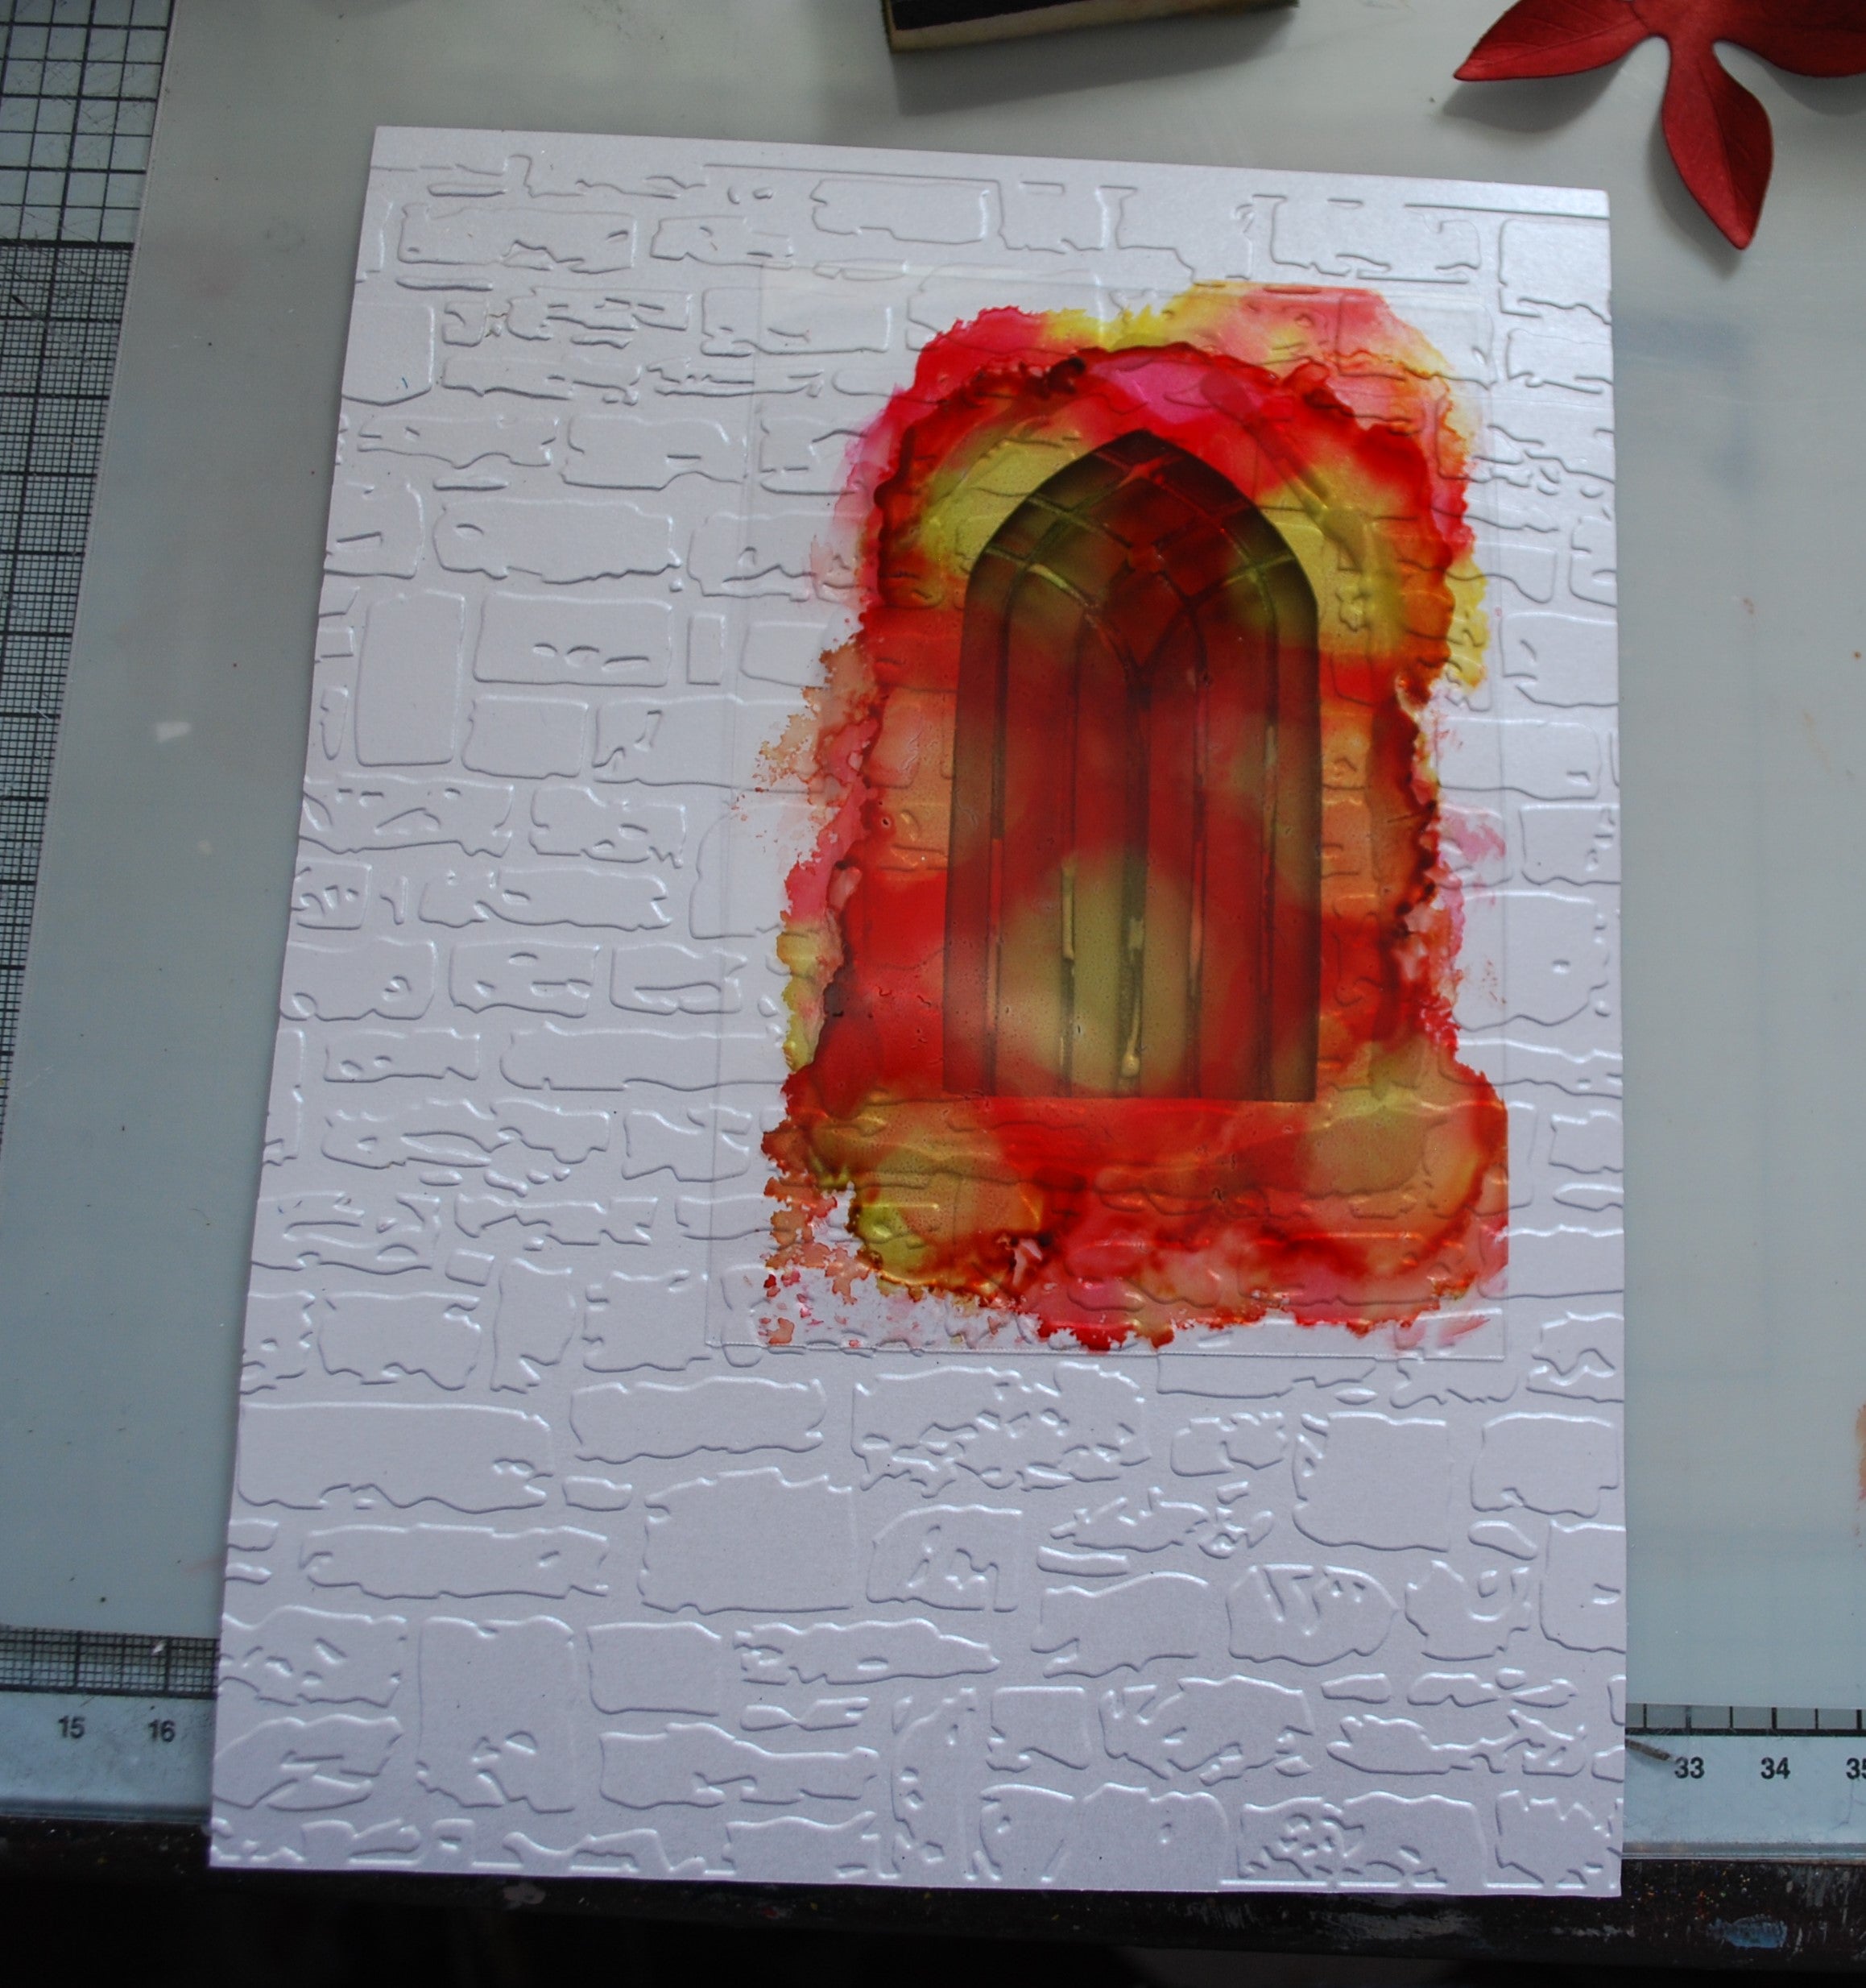
Step 4: Emboss this whole piece with the Dry Stone Wall folders from the Textures range.
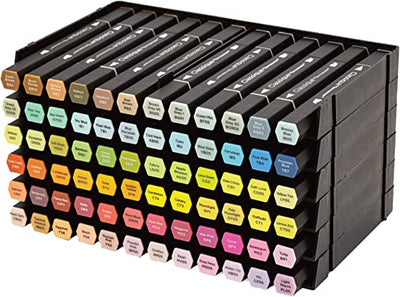
Glue your church window piece around the aperture at the front. At the back attach a piece of acetate coloured with Spectrum Noir markers or alcohol inks. I used reds and greens to tie in with the flower and foliage.

Step 5: Cut out some poinsettias – 3 large, 2 medium and 2 small – and some Ivy – 2 large and 2 small.
Use white card (I used Sheena’s stamping card) and colour them with whichever medium you like. I used Distress inks here but you could use Spectrum Noir markers, Aqua tints, Spectrum Aquas, whatever you fancy!

Make up your poinsettia, I used 2 large green at the bottom and then the red petals on top. I shaped the petals by pinching them upwards, I used Tacky glue to stick it together and I added some gold stamen pieces to the centre. The Ivy I shaped with a ball tool on a soft mat.
Step 6: Colour the holly leaves that come with the Poinsettia set. Then spray with a couple of coats of Spray and Shine to give them a glossy holly look.

Step 8: Add the leaves to the centre of the base of the card as they will act as the easel stopper.
Step 9: Finally arrange your Ivy around the church window and add your poinsettia at the bottom.
Share an Easel Card or other project you make with your new dies you make with us on our Facebook page, tag us on Instagram (#crafterscompanion) or on Twitter (@CraftersCompUK)!
See the whole new release: