Homemade Embellishments Using Crafter's Companion Crafter's Inspiration Issue 10
- Read time: 3 minutes
- Written by: admin
It's all go go go over at Crafter's Inspiration! They have just joined Facebook and are gearing up for the launch of Issue 11 just next month!Jen, our 'Scrapbook' lady has provided a fabulous tutorial to show you how to create simple embellishments using some free goodies from Crafter's Inspiration 10. They included: hexagon dies, a hexagon embossing folder and stamps. Crafter's Companion Supplies:"You need to use a nice quality stamping card like the Crafter's Companion Neenah Classic Crest White, which is 216gsm. I popped out my Diamond Press Machine, which is always within hand's reach then grabbed the little ink pad that came with my Diamond Press Starter Kit. Then I was ready to go!"

 Directions:Step 1: Cut up a set of rectangles small enough to fit into the Diamond Press folders and begin stamping, placing the image in the centre of the card that you have cut.
 Step 2: Carefully place the hexagon die that best fits the image you have stamped onto the card and into the folder, then run it through your Diamond Press. Use different sized hexagons. I think the stitched edge hexagons give a lovely, crisp finish. You can gently secure the die with a little tape if you want to, but to be honest, I think you will perfect the art of running those little dies through without needing to do that.
 Step 3: Cut some hexagons from the same card in the larger size, but don't stamp on these ones as you will use these to create your layered embellishments. Start to layer up the hexagons to make simple embellishments.
 Step 4: Experiment with different ways to place the hexagons as you layer them up. Pop a strip of embossed card behind the hexagon using the embossing folder included in the Crafter's Inspirations box to offset the little embellishments you have begun to create yourself.
 Step 5: Make clusters of hexagons to decorate the embellished strips and then you start to get a nice range of little accents for your projects.
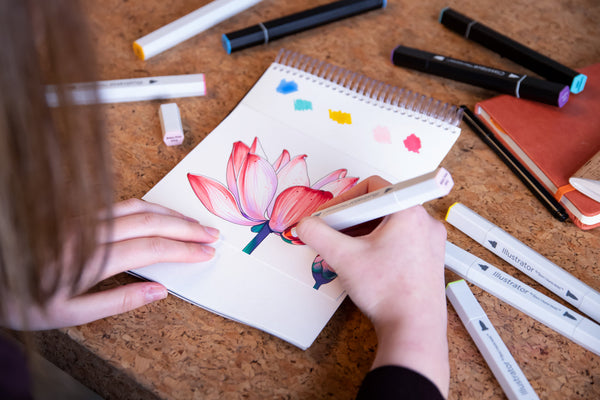
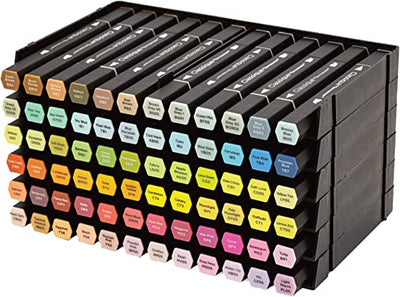
 Tip/Step 6: When I do this, I set myself an hour of play time! I cut and emboss a set of offcut cards and papers with my Diamond Press and I often add stamped images. Then I layer up the little pieces and pop them in a box. Then the next time I want to create a quick notelet or add something extra to a scrapbook page, I have a ready made set of toppers which I can dip into. Now these stamps are really useful as they can be coloured using my Spectrum Noir pens or pencils... or even my Aquatints! Then I can quickly make them coordinate with my chosen project.We would love to see what you make with your Crafter's Inspiration magazines! Share your projects and cards with us on our new Facebook page, tag us on Instagram (#crafterscompanion), on Pinterest (@CraftersCompUK) or on Twitter (@CraftersCompUK)!
Crafter's Companion Supplies:"You need to use a nice quality stamping card like the Crafter's Companion Neenah Classic Crest White, which is 216gsm. I popped out my Diamond Press Machine, which is always within hand's reach then grabbed the little ink pad that came with my Diamond Press Starter Kit. Then I was ready to go!" Directions:Step 1: Cut up a set of rectangles small enough to fit into the Diamond Press folders and begin stamping, placing the image in the centre of the card that you have cut.Step 2: Carefully place the hexagon die that best fits the image you have stamped onto the card and into the folder, then run it through your Diamond Press. Use different sized hexagons. I think the stitched edge hexagons give a lovely, crisp finish. You can gently secure the die with a little tape if you want to, but to be honest, I think you will perfect the art of running those little dies through without needing to do that.Step 3: Cut some hexagons from the same card in the larger size, but don't stamp on these ones as you will use these to create your layered embellishments. Start to layer up the hexagons to make simple embellishments.Step 4: Experiment with different ways to place the hexagons as you layer them up. Pop a strip of embossed card behind the hexagon using the embossing folder included in the Crafter's Inspirations box to offset the little embellishments you have begun to create yourself.Step 5: Make clusters of hexagons to decorate the embellished strips and then you start to get a nice range of little accents for your projects.Tip/Step 6: When I do this, I set myself an hour of play time! I cut and emboss a set of offcut cards and papers with my Diamond Press and I often add stamped images. Then I layer up the little pieces and pop them in a box. Then the next time I want to create a quick notelet or add something extra to a scrapbook page, I have a ready made set of toppers which I can dip into. Now these stamps are really useful as they can be coloured using my Spectrum Noir pens or pencils... or even my Aquatints! Then I can quickly make them coordinate with my chosen project.We would love to see what you make with your Crafter's Inspiration magazines! Share your projects and cards with us on our new Facebook page, tag us on Instagram (#crafterscompanion), on Pinterest (@CraftersCompUK) or on Twitter (@CraftersCompUK)!