How to make a decorated gift box
- Read time: 4 minutes
- Written by: Crafters
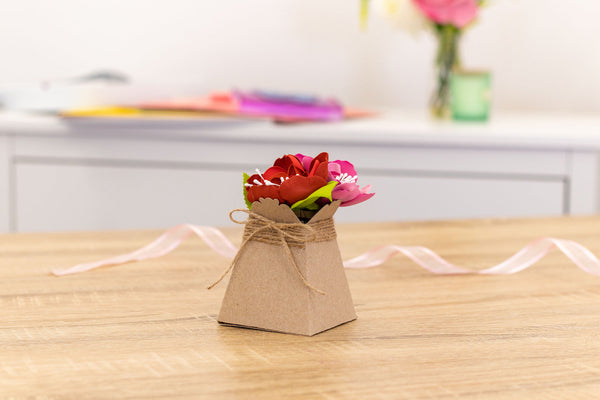
Whether it’s a wedding gift, and anniversary treat or just something special for someone special, a home-made gift box is a great way to go the extra mile. And it doesn’t need to be difficult to craft your own gift box.
Just follow our step-by-step instructions to build and decorate a beautiful gift box with a matching lid. We’ve used the stunning Angel Collection from Crafter’s Companion for the decorated panels and die-cut toppers. The timeless beauty and delicate grace of this papercraft range make it perfect for so many occasions, from celebrating new arrivals to wedding favours and everything in between.

You will need:
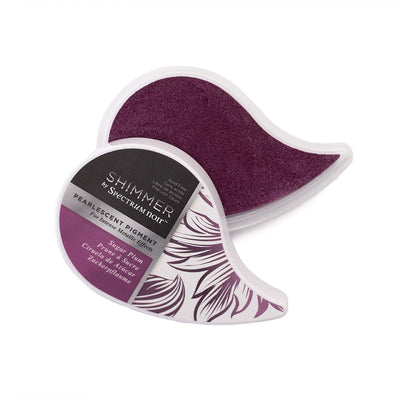
- Angel Collection
- Feathers Appear Die Set
- Eternal Love Die Set
- Heavenly Blessings Die Set
- Believe in Angels Die Set
- Angel Kisses Stamp & Die Set
- A4 Luxury Mixed Card Pack
- 12″ x 12″ Paper Pad
- 8″ x 8″ Vellum Pad
- Centura Pearl Hint of Gold A3 Card
- Black inkpad
- Collall All-Purpose Glue
- Collall Tacky Glue
- Foam Pads – 3mm depth
- Red-Liner Tape – 3mm and 6mm width
- Self-adhesive pearls
- Gemini Die-cutting Machine
Step-by-step instructions:

- Cut a piece of gold Centura Pearl card to measure 4 ½” x 4 ½”. This will be your box base.

- Now for the box lid .Cut a second piece of Centura Pearl card to measure 5 5/8” x 5 5/8”. Score at ½” on all 4 sides. Cut small triangles into all 4 corners so that the lid will fold together neatly.
- Cut a piece of purple linen card from the Angel Collection pack to 4 3/8” x 4 3/8”. Cut a piece of patterned paper to 4 1/8” x 4 1/8” and layer onto the purple piece. Glue this to the centre of the box lid.
- Take the Angel sentiment from the Angel Kisses Stamp & Die set. Use your Gemini machine to die-cut the sentiment four times from purple card.

- Layer together the four die-cut sentiments and glue onto the box lid.
- Stamp “kisses” onto a piece of Centura Pearl, mat onto a slightly larger piece of purple card and use foam pads to adhere to the box lid.
- Decorate with pearls.
- Add red-liner tape to the four corner tabs to stick the box lid together.
- Time for the box sides! Cut two pieces of Centura Pearl to measure 9 ½” x 7 ¾”. On each, score at ½” on the short edge and at ½” and 5” on the long edge. Cut triangles into the tabs, similar to the box lid.

- Cut the Feathers Appear and Eternal Love dies into two of the box sides as shown.
- Trim around the right-hand side of the die-cut design in a rectangular shape to frame it.
- Cut two pieces of vellum to 6 ¾” x 4 ¼”. Use red-liner tape to stick these behind each of the die-cut box sides.

- Cut two pieces of purple card to measure 6 ½” x 4 ¼”. Next, cut two pieces of patterned paper to 6 ¼” x 4”.
- Layer the patterned paper pieces onto the purple panels and then stick onto the box sides as shown.

- Die-cut the outer designs from Heavenly Blessings and Believe In Angels from purple card. Die-cut the detail designs from both dies using Centura Pearl card.
- Glue the detailed dies onto vellum and trim around the edges so that the vellum isn’t showing at the edges. Glue each piece onto their corresponding purple piece.

- Use foam pads to adhere the layered designs onto the box sides as shown.
- Attach red-liner tape along the long sides of both box side pieces. Stick the two sides together to make one continuous cylindrical-like piece.
- Add red-liner tape to the short tabs on the box sides and stick the box base to these tabs.

We can’t wait to see your finished makes! So, don’t forget to show us your creations on Facebook UK, Facebook USA, Twitter, Instagram UK, Instagram US, Pinterest UK or Pinterest US using the hashtag #crafterscompanion