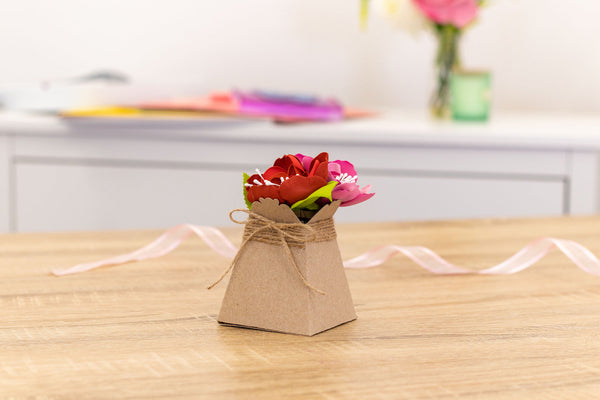
How to craft a beautiful gift box
- Read time: 3 minutes
- Written by: Crafters
Find out how to craft a gorgeous gift box that combines delicate watercolour florals with glitter – a winning combination!
We’ve crafted this shaker gift box using the Gemini Framed Floral Create a Card Dies and Watercolour Pages Pad from Crafter’s Companion . The shading and colours of each sheet aligns with the dimensions of the die-cut flower designs to create a beautiful and atmospheric watercolour effect.
Follow our step-by-step card to create a papercraft gift or keepsake box that’s sure to impress!

You will need:
- Gemini Framed Floral Create-A-Card Die – Traditional Rose
- Crafter’s Companion – Watercolour Pages – 5.5″ x 5.5″ Paper Pad
- Centura Pearl Fresh White Card
- Matt Black Card
- Acetate
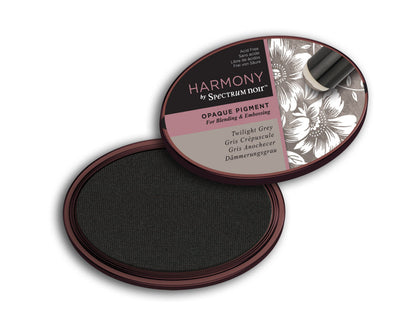
- Spectrum Noir Opaque Pigment Inkpad – Chinese Red
- Sara Signature Enchanted Dreams Chunky Glitter
- Collall Tacky Glue
- Collall All-purpose Glue
- Foam tape – 4mm
- Red-liner tape – 3mm
- Crafter’s Companion Boxer Board
- Gemini Die Cutting Machine
Step-by-step instructions:

- Cut two pieces of Centura Pearl Fresh White card to 8 ¼” x 8 ¼”. Using the Boxer Board Scoreboard, score one piece at 1 ¼” on the box lid side of the board, and score the other piece at 1 ¼” on the box base side. Fold and burnish the score lines and cut triangles into all 4 corners of both pieces.
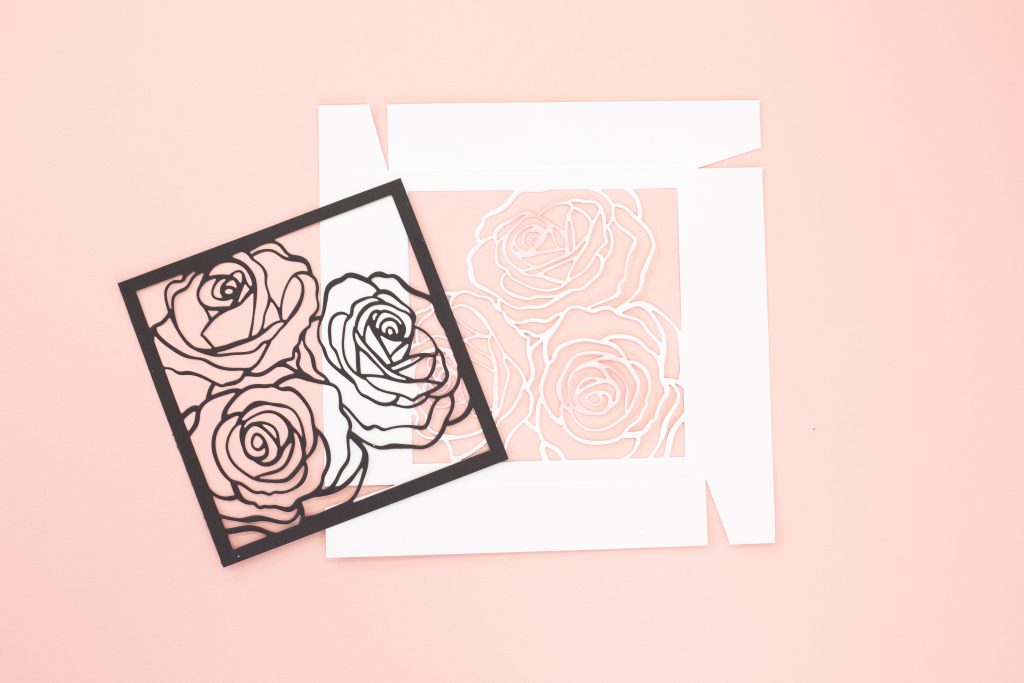
- Follow the instructions with your Gemini machine to die cut the Rose Create-A-Card Die into the box lid. Add some red ink to the centre of each of the 3 roses to pick out the detail. Die cut again into the centre of a piece of 5 ½” x 5 ½” black card.

- Layer the black piece behind the box lid by off-setting the black piece slightly to the bottom left. This creates a shadow effect.
- Cut 2 pieces of acetate to 5 ½” x 5 ½”. Use red liner tape to adhere one piece to the back of the box lid. Apply foam tape around the edge of the other piece of acetate.

- Pour glitter into the inside of the box lid (over the first piece of acetate that’s been stuck down), and then adhere the second piece of acetate over the top to encapsulate the glitter into a shaker.

- Take a sheet from the Watercolour Pages pad and cut to 5 ½” x 5 ½” . Line it up on the inside of the box base so that the colours align with the die cut roses and glue down.

- Cut four pieces of black card to 1” x 5 ½”. Cut four pieces of the watercolour effect paper to ¾ ” x 5 ¼ ”. Layer the patterned paper pieces onto the black pieces and glue to the box sides of the lid.
- Fold alone the scorelines to construct the box lid and base, using red-liner tape on the tabs to secure it together.

We can’t wait to see your finished makes! So, don’t forget to show us your creations on Facebook UK, Facebook USA, Twitter, Instagram UK, Instagram US, Pinterest UK or Pinterest US using the hashtag #crafterscompanion