A step-by-step guide to embossing a beautiful card
- Read time: 3 minutes
- Written by: Crafters
Find out how to craft a stunning card with 3D designs with this easy to follow guide to crafting an embossed card.
Embossing is the art of creating a raised design to card or paper- it adds stunning depth and dimension that you can highlight with colour and metallic accents. Cards with embossed designs look so professional and impressive, but with the Gemini Die Cutting and Embossing machine – you can master this technique in minutes!
Check out our step-by-step guide to find out how.

You will need:
- Gemini 3.75″ x 8.5″ Cut and Emboss Folder – Interlocking Circles
- Watercolour Card
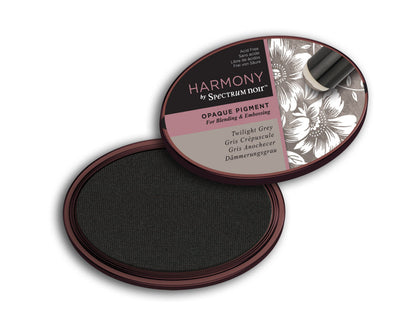
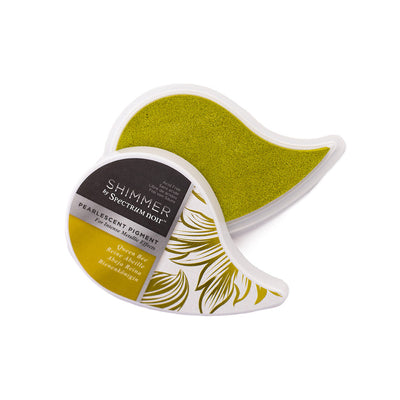
- Harmony by Spectrum Noir Water Reactive Dye Inkpad – Parakeet
- Harmony by Spectrum Noir Water Reactive Dye Inkpad – Spring Meadow
- Mirri Card Essentials – Glamourous Gold
- Crafter’s Companion Everyday Delights 8″ x 8″ Paper Pad
- Sentiment stamp
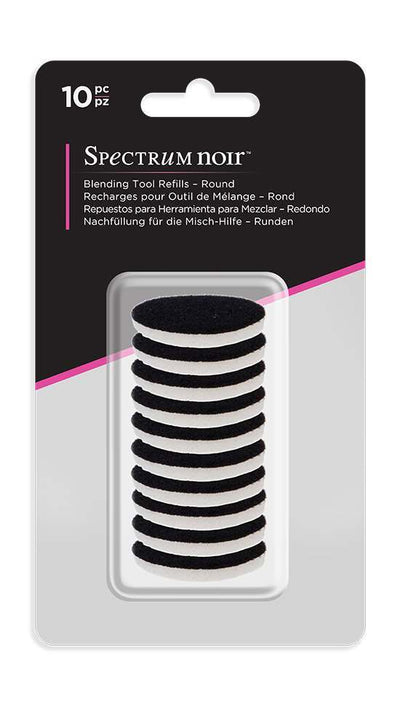
- Blending Tool
- Ink Dauber
- Ribbon
- Guillotine
- Scoring tool
- Bone Folder
- Stamping Platform or Rock a Blocks
- Harmony Quick Dry Inkpad in a dark shade for sentiment
- Collall Tacky Glue or Crafter’s Companion Glue Tape Pen
- Gemini Die Cutting and Embossing Machine
You can use any design of patterned paper and any shade of Spectrum Noir Water Reactive Inkpad to fit your theme or recipient!
Step-by-step instructions:

- Cut a piece of watercolour card to measure 8.25″ x 8 .25″

- Score and fold at 3.75″ to create your card base

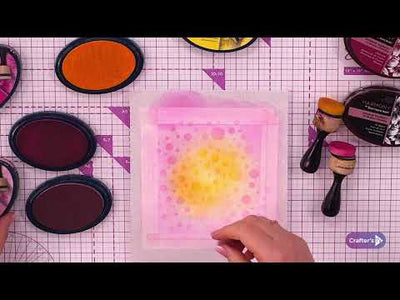
- Using a sponge blender apply Spring Meadow ink all over the slimline section of your card

- Take your cut and emboss folder, line it up with the right hand edge of the slimline section. Following the instructions for your Gemini, create the correct plate combination and pass through the machine. This will create a beautiful embossed design with three circular cut-out frames.

- Using a sponge blender lightly apply Parakeet to the outside of the circles to highlight them in blue. Blend some Parakeet ink with the Spring Meadow background to create a soft blended background. Experiment on a spare piece of card first if you want to practice before applying to your card design.

- Add extra Parakeet ink to the edge of the card

- Cut a piece of patterned paper to fit inside your card
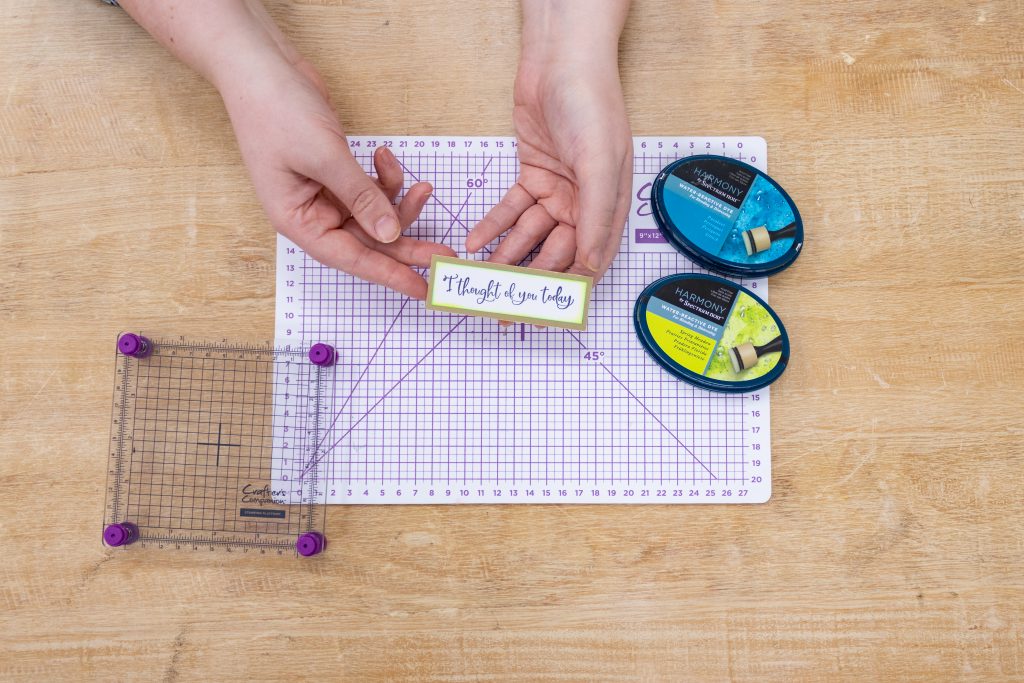
- Stamp your chosen sentiment onto a small piece of white card using a dark coloured ink. Use a Stamping Platform or Rock a Blocks for a precise, smudge free finish. Apply Parakeet and Spring Meadow ink to the edges to create a matching border.
- Next, stick to a piece of gold card around 1/4″ larger than your stamped piece. This is called a mat.

- Tie a piece of ribbon into a bow, arrange on your card front with the sentiment and adhere.
Voila you’re finished card is ready! Now, all you have to do is pop a few words inside and send your handmade card to its lucky recipient!
And now that you’ve mastered the basics of cardmaking and embossing a whole new world of dimension and colour will open up! Experiment with different embossing folders and effects – why not add gilding wax or glitter to the raised elements for a beautiful luxe look?
If this project has inspired you to find out more about the craft technique of embossing, why not take a look at our handy guide?

We can’t wait to see your embossed card makes! So, make sure you share your project photos with us on Facebook UK, Facebook USA, Twitter, Instagram UK, Instagram US, Pinterest UK or Pinterest US using the hashtag #crafterscompanion