How to Organize Embossing Folders
- Read time: 4 minutes
- Written by: Crafters
Do you have just a few embossing folders?
Sort and store by theme, sentiment, holiday, or style.
Do you have a lot of embossing folders?
Create a catalog.
If you’ve read any of my other articles or watched my videos, you know I’m a HUGE advocate for cataloging your tools.
A tool catalog could include embossing folders, dies, stamps, punches, etc. (Learn more, read –Why create a catalog of your tools.)

The catalog option is a must if you have or intend to have more than 25 embossing folders. If you’re new to cataloging, you’ll need to create a themes and sentiments list before you get started – learn more.
Sorting by theme, sentiment, holiday, or style
If you choose this method, gather your embossing folders together and sort them into piles based on category theme, sentiment, or holiday.
Generic patterns belong in the themes category “backgrounds”.
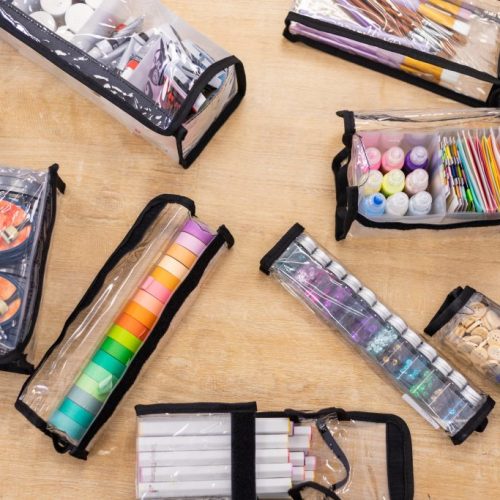
Add a label to each category and store the embossing folders in a Fab File or ScrapRack.
If you’re using a Fab File (I recommend either the 4×6 or 5×7), label the folders in the Fab File to match your theme.
If you’re using a ScrapRack, you will add your embossing folders directly to the corresponding theme or category in your ScrapRack.


Creating a catalog
The first step in creating a catalog is creating the blank catalog sheets you’ll need. If you’ve not done this for other tools – please take a quick read through – How to create a catalog for your papercrafting tools.
Step 1 –

It seems counterintuitive, but the first step is numbering or labeling your storage containers.
I’m using the Flippin’ Storage Binder for these embossing folders, so I first went through and numbered each of the pockets.
I added the numbers on the inside of the pockets using sticky notes and a label maker, but you could just label the pockets with a sharpie if you want a quick, easy solution.
After labeling, load your embossing folders into the “container” – in this case, the Flippin’ Storage Binder.
Step 2 – Add impressions to your catalog sheets
Remove each embossing folder from the storage container and create an impression on the catalog page.
You can use a crayon to create a rubbing directly onto the page, or you can create an actual sample by running the folder through your machine and then attaching the sample to the catalog page.
Add the embossing folder’s catalog/pocket number to the catalog sheet and to the embossing folder itself.


You’ll want to create multiple impressions for embossing folders that fit into multiple categories, i.e., Crafter’s Companion Christmas Embossing Folder – this would fit in 3 categories, backgrounds, Crafter’s Companion, Christmas.
Add the impression(s) to the appropriate page(s) of your catalog.
Add the number you assigned to the embossing folder to each of the impressions on the catalog pages, then return the embossing folder to the storage container.
Tips and Tricks
Cut the image of the embossing folder design off the packaging. If it’s a thin piece of paper, run it through your Xyron machine and stick it directly to the embossing folder. If it’s thicker – chipboard type, “hinge” it to your embossing folder with a piece of tape. This will serve as a sample image so you don’t have to decipher the design by looking at the folder itself. By “hinging” it, you can flip this piece away from the folder when it comes time to use it, so as to not leave a blank impression in that spot when you run it through your machine.
If you were unable to get an image of the embossing folder packaging, you can always create an extra rubbing and include it with the embossing folder where it is stored. In this case, the orange tint of the embossing folder makes the design almost impossible to discern, so the rubbing example, stored in the pocket with the folder is really helpful.

If you’re looking for more information about organizing embossing folders. We’ve created a post with links to all of my previous posts. You can read that post – Everything you need to know about organizing embossing folders, by clicking here.
Thanks for stopping by today. If you have questions or comments, or ideas to share, please use the comment box below.
Happy Crafting!