Create layered images with the Parisian Stencils
- Read time: 3 minutes
- Written by: Crafter's Companion
Sometimes, your projects just need that little bit extra depth and it can sometimes be difficult to figure out how to achieve that. Of course, there are a range of brilliant techniques that you can learn in order to create raised effects or add 3D touches, but we’ve made it so much easier for you with the Parisian Stencils.
Hand drawn by Donna Ratcliff, these layering stencils offer artist-quality results and are very simple to use – even for complete beginners in stencilling. The positioning work has already been done for you, so all you have to do is put the image together with the colours that you love!

These stencils have been manufactured to a robust quality, so they are able to handle any inks and acrylic paint. This makes them perfect for a range of artwork or papercrafts. Use three shades to really bring your image to life and to add depth to the design.
They’re also extremely versatile and can be used with a range of techniques to produce a look that you love. Try stippling, spongeing, spritzing or even paper embossing by rolling it through your die-cutting machine. Just wipe it clean after use and it’s ready to go again!
How do you use them?
As we mentioned, these stencils are so simple to use, but if you need a little bit of guidance, follow along with these steps:
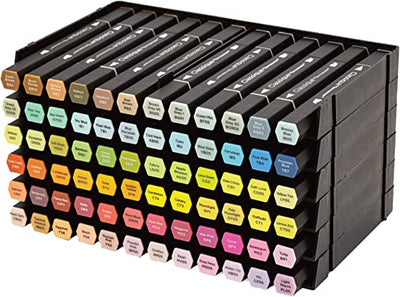
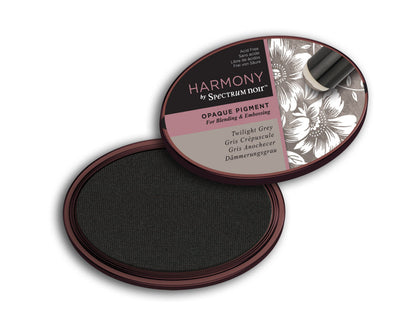
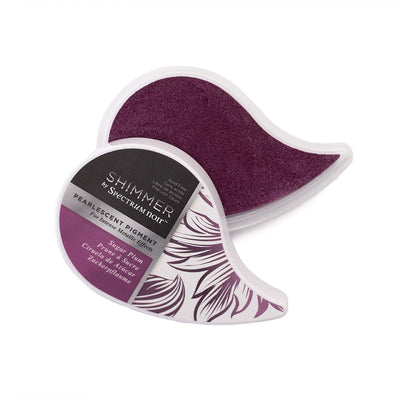
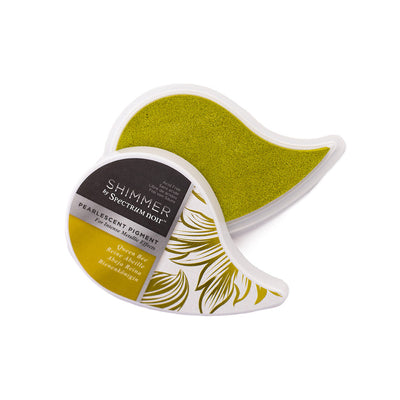
- Trim your chosen paper or card to 8″ x 8″ to fit to the size of the stencils and choose three shades of Spectrum Noir Quick Dry Inkpads in deepening shades
- Lay your paper down on to your surface and position the base stencil on top, following the number guide on the packaging
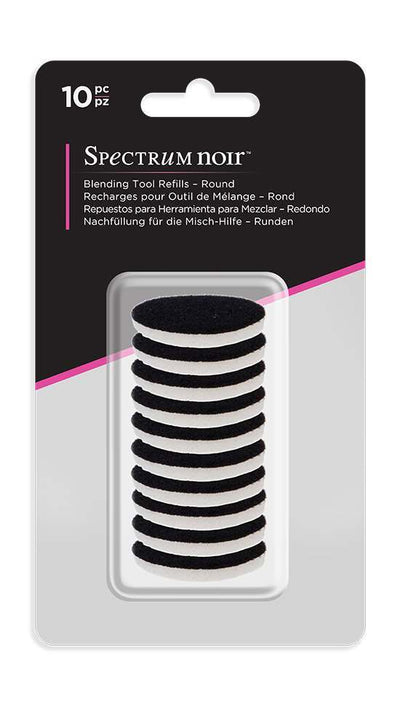
- Using a Blending Tool, pick up the lightest ink shade and smooth it over the stencil, making sure you hold it firmly in place and filling every space (you could also use Low Tack Tape along the edges to hold the stencil down)
- Remove the base stencil and add the second stencil on top. By now, your ink should have dried, so you won’t need to worry about smudging
- Use the next deepest ink shade and follow the same process
- Remove the second stencil and add the third on top, using the final ink shade and following the same process
- Remove the final stencil and you should be left with a beautifully 3D image
If you need a bit more of a visual guide, watch along with Jan Brown’s video below! She uses the Postmark Paris Stencils with gorgeous teal shades to add a cool touch to her card.
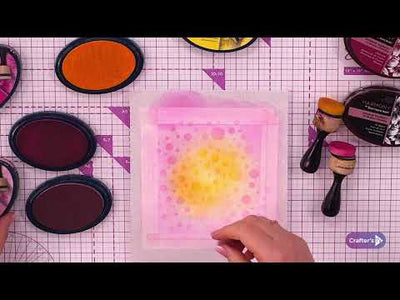
Once you’ve got the hang of this technique, you can experiment with various methods of colour application, like spritzing or spongeing. This will help you to add a bit more texture and a totally unique look to your projects.
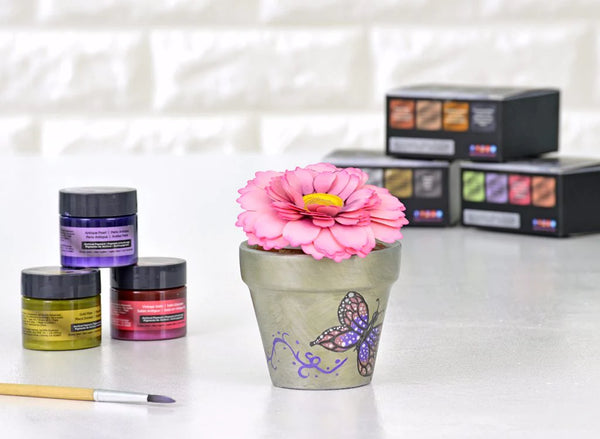
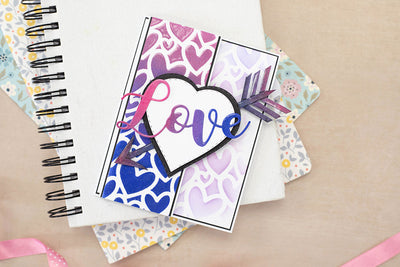
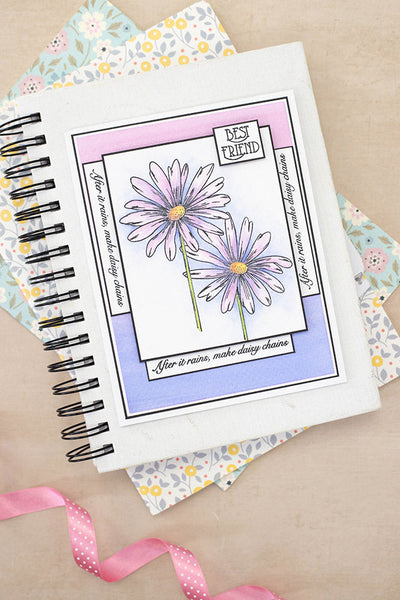
Take a look at the photos below for inspiration!


We can’t wait to see what you create with your Parisian Stencils – you should also try pairing them up with the Parisian Stamps for even more French charm! Make sure you tag us in any photos on Facebook, Twitter or Instagram using the hashtag #crafterscompanion.