How to decoupage on your cards
- Read time: 5 minutes
- Written by: Crafter's Companion
Decoupage, or 3D decoupage as it’s known in cardmaking, is a very simple technique that many people do without realising they’re doing it! Decoupage is the art of decorating something by adhering layers of paper, fabric, gold leaf and variousother decorative elements, or in cardmaking, it is creating a layered effect with pieces of card or paper and three-dimensional adhesives. It sounds more complicated than it is, we promise!
In this guide, we’re going to be walking you through some cardmaking decoupage basics, the technique and showing you some brilliant examples, so if this is a craft that you’ve always wanted to master, this is the post for you.

A bit of decoupage history
The word ‘decoupage’ derived from the French verb ‘decouper’, which means ‘to cut out’. The craft dates back as far as the 12th century when the Chinese would decorate their windows, lanterns and gift boxes. It was a technique that was thought to have come from Siberia where felt cut-outs were used to decorate tombs. It’s a technique that has stood the test of time and it was even seen in Victorian times, with decorative cards, particularly for Valentine’s, boxes and furniture.
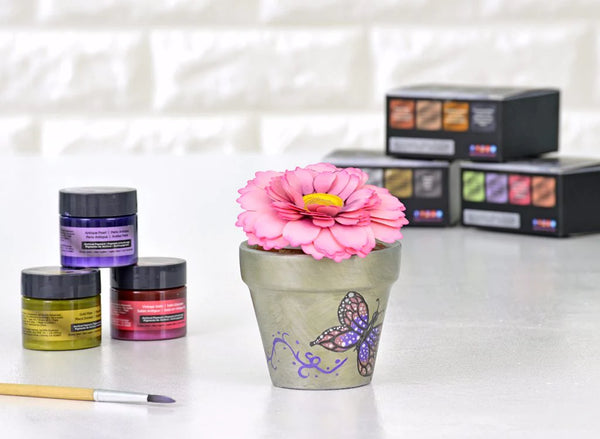
In the present day, we mainly use decoupage to decorate household objects with fabric (if you wanted to try your hand at this, we stock the amazing Imagination Crafts Fabric Decoupage Glue) and layered paper elements, and the reason why it’s still popular today is that it’s so easy to do and the finished results can look amazingly professional. There are no age limits or ability requirements – just a love for cutting and sticking!
What materials can you use for decoupage?
The truth is that you can use absolutely anything in decoupage, whether it’s magazine clippings, postcards, pretty fabric, wallpaper, wrapping paper or photos! You can also apply these to practically any surface, including glass, metal and ceramics. Today though, we’re going to focus on 3D decoupage for cards, so the main materials you will need are:
- A card base – pick any size of card base that you like. We recommend using a simple colour because that means you can go wild with colours, if you like!
- Adhesive – we have a great selection of decoupage adhesives, but we love using foam pads for an incredible raised look.
- Scissors – having super sharp scissors is an essential part of decoupage, especially if you’re going to be cutting out tiny, precise details. We love our Precision Snips for this!
- Layering dies (optional) – one way to easily get around the need for scissors is with layering dies. They make it so much easier to quickly cut out details and give you all you need to build up incredible layers. Our Mandala Stamp and Dies are ideal for this, and help you to create 3D images with minimal effort.
- Decorative paper or card – you can use any sort of paper or card you want for this. As you won’t be using varnish, you won’t run the risk of your design curling or becoming damaged by the finishing sheen, so pick your favourite!

How to decoupage in cardmaking
- Cut out each individual piece that you would like to layer up.
- Use a pencil to lightly write a number on the back of each one so that you can easily remember the order that they’ll go in.
- Avoid leaving any white paper from the pieces, but if any is left showing, try to hide it by adding colour with pencils or pens.
- After you’ve cut out each element, it’s time to begin your layering. Find the base piece and adhere this directly to your card with glue or adhesive.
- Use foam pads, 3D glue or regular all-purpose adhesive to add the next layer, making sure that it is straight and it the correct position. It often helps to stand and look at the card from above to ensure that the piece is in the correct place.
- Continue to add your layers until you have finished your design. Add embellishments to your card and decorate to your tastes, and you’ll have a beautiful finished piece!

What else can you decoupage?
Of course, decoupage isn’t just for cards and it can be used for a range of projects. The possibilities really are endless, but here are some of our suggestions:
- Add a contemporary feel to furniture
- Bring some life to old mirrors or photo frames
- Personalise plates, trays and bowls – just make sure to add a coating of food safe varnish afterwards
- Use fabric decoupage on lamps and lampshades
- Decorate birdhouses to spruce up the garden
- Create a matching set of stationery storage
We hope that this handy guide has helped you with understanding some of the 3D decoupage basics and given you some inspiration for your future card projects! We’d love to see how you use the decoupage techniques and any of your creations, so please tag us in your photos on Facebook, Twitter or Instagram using the hashtag #crafterscompanion.