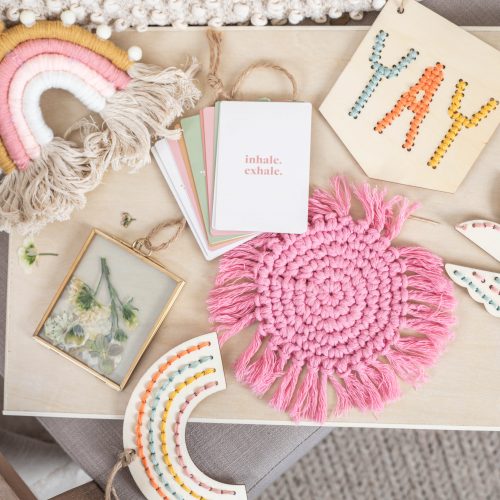
How to: Make felt coasters in six easy steps
- Read time: 2 minutes
- Written by: CraftersCompanion
Add a touch of summer zest and colour into your home with these super-easy fruity felt coasters! Follow our step by step guide put together for you by the wonderful Anita Barker
What you’ll need:
- Yellow, cream, pink, green and orange felt
- Co-ordinating threads
- Felt glue or spray adhesive
How to make:
Step 1: Each coaster will require four circles of felt: two large, one medium and one small circle. Cut the two large and one small circle from the colour of felt to represent the fruit you wish to create, and cut the medium-sized circle from cream felt (this will represent the fruit’s pith)

Step 2: Cut the smallest circle from Step 1 into eight equal segments. To do this, fold the circle in half and cut it into two pieces, then cut these pieces in half and repeat. You’ll need six segments for the coaster so discard two segments or keep them on hand if you need a spare!

Step 3: Take three of the segments cut in Step 2, fold them in half lengthways and cut out a small triangular shape from the centre of the fold. This adds a bit more interest and detail to the segments on the finished coasters.

Step 4: Place the cream circle of felt in the centre of one of the large circles and hold it in place by using felt glue, spray adhesive or pins. Arrange the six segments on top of the white circle [D] and use a matching colour of thread to sew around the edges of the segments using a small running stitch. Use a cream thread to sew small running stitches around the edges of the cream circle.

Step 5: Take the remaining large circle of felt cut in Step 1 and a matching colour of thread. Tie a knot in the end of the thread, place it in between the large circle and the segment circle from Step 4, then sew the large circle onto the back of the segment circle using a small running stitch around the edges. To finish off neatly, tie a small knot on the reverse piece then pass the needle through the two layers of felt and pull it out in the middle of the back. Snip the thread at this exit point to hide the end of the thread.

Step 6: Trim the edges of the coaster to neaten them, then repeat Steps 1 to 6 to create a selection of coasters in various colours such as green for limes, orange for oranges and pink to represent pink grapefruits as shown.