How to use the Pop Up Box Stamp and Dies
- Read time: 5 minutes
- Written by: Crafters
Here at Crafter’s Companion, we’re always thinking of new ways to create the most unique and exciting cards possible. After all, there’s better than giving a card that totally wows your recipient and makes them ask “did you make this yourself?” With our new Gemini Pop Up Box Stamp and Dies, you’re guaranteed to get this reaction every single time!
This collection has been designed to help you build boxes that fold flat to slot inside an envelope. However, once they’re opened up, tiny details and embellishments spring from the top, giving a little element of surprise! The overall effect is so fun and beautiful, but how exactly do you use the stamps and dies? We’re here to help with this handy post!

Which sets are available?
For this collection, we were so keen to give you plenty of options for recipients of any age and for any occasion, so you can grab:
Vintage Tea Party – as the name would suggest, this set is full of cute teapots, cakes, cups, saucers and all things needed for the perfect tea party in a box
Once Upon A Time – this set is packed with magic and mystical fairytale-themed imagery, so you can create castles in the sky, princesses and unicorns
Ocean Paradise – for fans of mermaids and ocean scenery, this is the set for you. Add little fish, jellyfish and swimming mermaids to the top of your box for a nautical look
Believe In Fairies – this set is full to the brim with fairy magic and features elements like toadstools, flowers and, of course, dainty fairies
Happy Birthday – for birthday boxes, look no further than this set. It features numbers, cakes and balloons, so you can create your own party in a box
Floral Boutique – last, but not least, we’ve got a set that’s packed full of florals and butterflies, which is perfect if you want to create a garden effect
With each of these sets, you’ll need to purchase the Pop Up Box Card Die alongside to help you create the base needed to attach your pop up elements. There’s also the option of creating a bow with the Ornate Bow Die to help you finish the front of your boxes in style.

How do you use the Pop Up Box Card Die?
Simply follow this step-by-step to build your box card base or click here to download some instructions with added images for extra help!
- Place a piece of A4 card in front of you and attach the large die from the Pop Up Box Card base set with low tack tape. Run this through your die-cutting machine. Repeat this with another piece of card, giving you two separate cuts. Please note: there is no bottom cutting edge to this die, but don’t remove the cut yet!
- You will notice that the die has created partial cutting lines down the sides of your card. Use a guillotine or a craft knife and ruler to continue these cut lines straight down the lengths of your card pieces to remove them.
- You will notice that there is a score line down one side of the card and one in the centre, and these will create the corners of the box. Score and fold these lines on both boxes.
- On a new piece of card, use the smaller die to cut three inserts for the inside of the box. Fold the tabs on each insert inwards.
- Look at the box piece and you will notice that there are three score lines. These score lines are to be used with the inserts that you created in the previous step. Line up the first insert with the far-left score line. Attach adhesive to the underside of the tab and fix into place. Repeat the step for the remaining inserts.
- Apply adhesive to the long tab on the second piece of card and attach the two pieces together.
- Fold all of the inserts inwards. Apply adhesive to the tab on each of the inserts and also down the long tab on the right hand side of the box.
- Fold the box using the score line that runs down the centre by folding in half – the adhesive on the tabs of the inserts will attach to the inside of the box. Fold the long side side tab around the box and press down to ensure it sticks. Press along the outer surface to ensure that the tabs inside are also adhered.
- If you have used wet glue, allow the glue to dry completely before proceeding to the next stage. If you have used tape, you can open the box out straight away.
- Decorate the box as deired and create pop up elements from the stamp and die sets. Attach them to your box with strips of acetate.
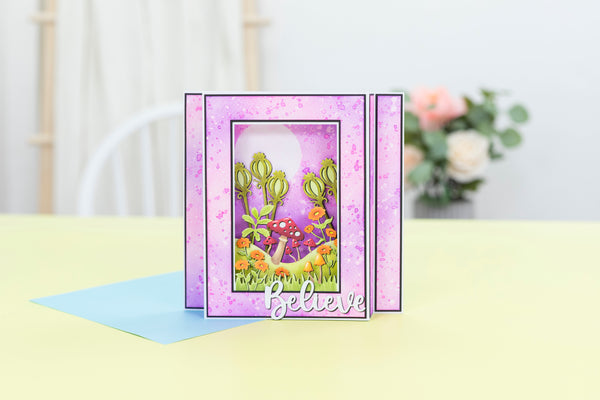
Once you’ve mastered the technique of building the boxes, you’ll be able to decorate them and create the most beautiful, interactive cards, just like the ones above! While there are a few steps involved, you’ll certainly get the hang of it after a few tries.
We absolutely can’t wait to see how you design your pop up boxes, so make sure you share your Gemini Pop Up Box Stamp and Die creations with us on Facebook UK, Facebook USA, Twitter, Instagram UK, Instagram US, Pinterest UK or Pinterest US using the hashtag #crafterscompanion.


