5 Floral Card Ideas
- Read time: 5 minutes
- Written by: Crafters Companion
We’ve pulled together five fabulous floral-themed card projects that are perfect for springtime
Whether you love die-cut blooms, ink-blended backgrounds, or dimensional flowers, there’s something here for every kind of crafter!
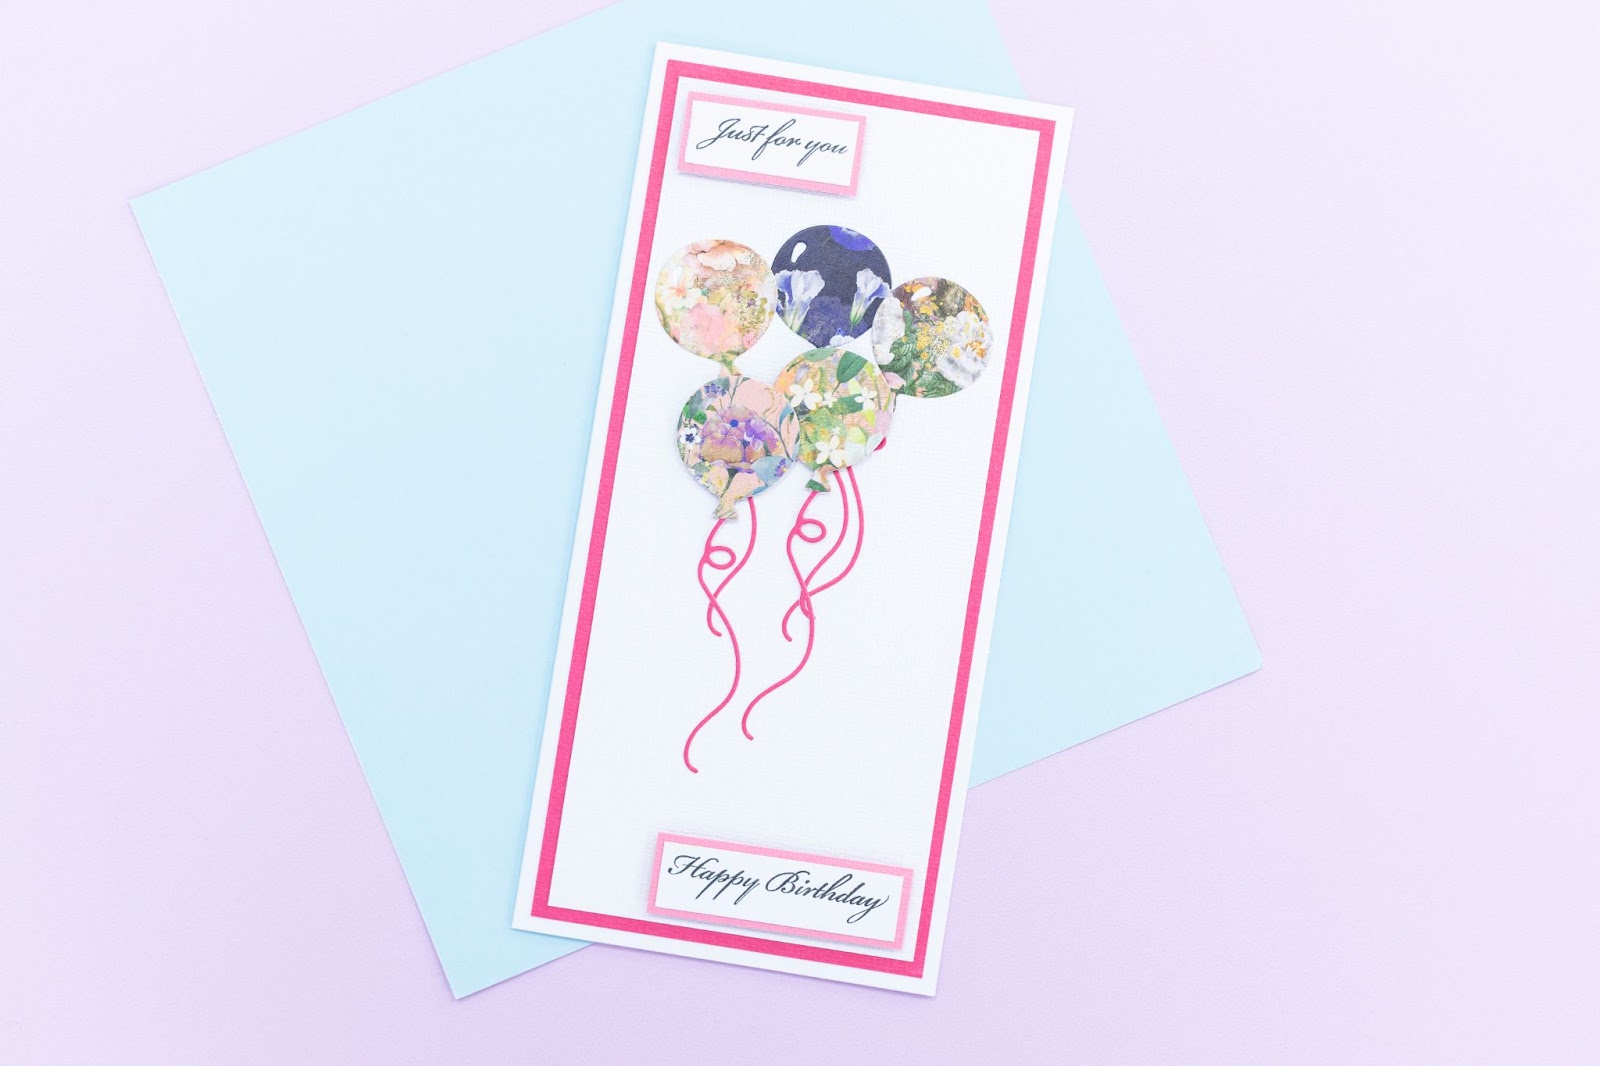
Floral Balloon Birthday Card🎈
Products Used:
-
Card Blank
-
Celebration Mini Metal Die Set
-
Sentiment Stamp Set
-
White, Hot Pink, and Pale Pink Linen Card
-
Alcohol-Proof Inkpad: Noir Black
Instructions:
-
Cut the hot pink card to 7 15/16” x 3 10/16” and the white linen card to 7 11/16” x 3 5/16”. Mat & Layer them onto a card blank.
-
Die-cut five balloons from patterned paper and pink linen card for the string off the paper balloons.
-
Glue three of the balloons with their strings in a cluster near the top of the card.
-
Assemble the remaining two balloons, using foam pads to elevate and gluing the strings flat. Overlap slightly for a layered look.
-
Stamp a sentiment on white card, mat it on pale pink linen, and attach to the top left and bottom right with foam pads.
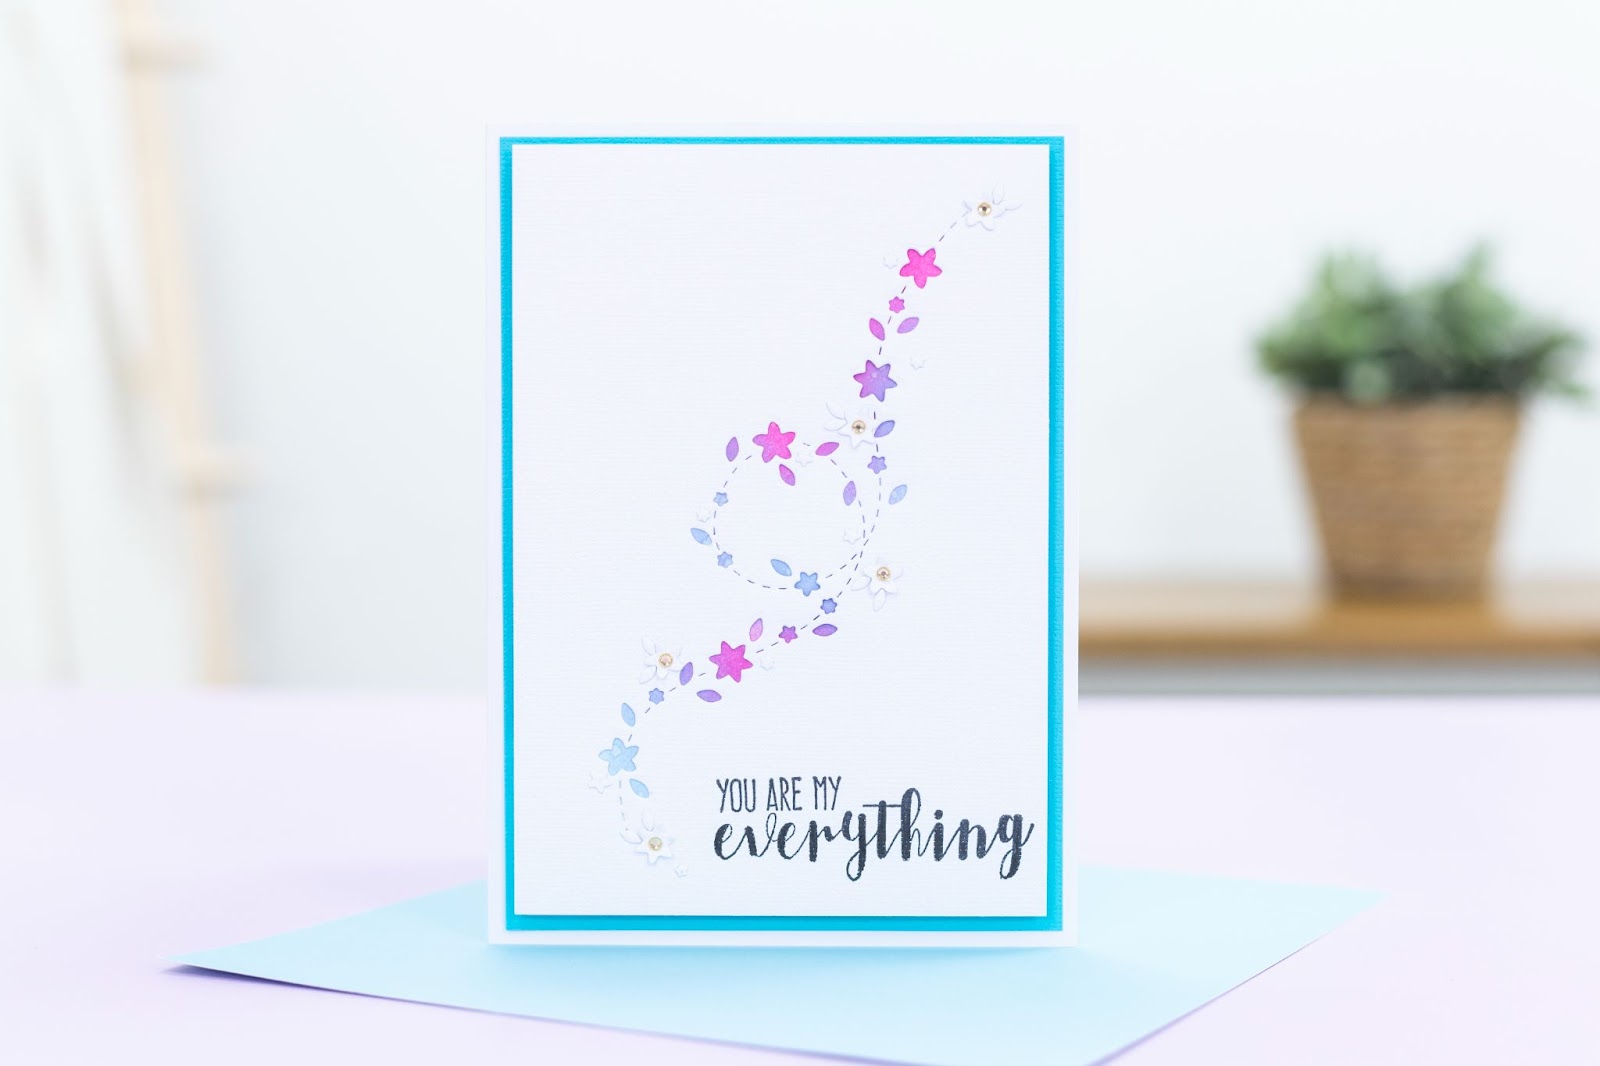
2. Scattered Flowers Card 🌼
Products Used:
-
Scattered Flowers Die
-
Sentiment Stamps
-
Turquoise and White Linen Card
-
Gems
-
Inkpads: Raspberry & Tropic Blue
-
Alcohol-Proof Inkpad: Noir Black
-
Wax Pick-Up Tool
Instructions:
-
Cut the white linen card to 4 ½” x 6 ½” .Die-cut the flowers into the white linen card, saving the waste pieces.
-
Stamp your sentiment in the bottom right corner of the die-cut panel.
-
Glue the flowers and leaves back into place, gently lifting the petals on larger blooms for dimension.
-
Blend the coloured ink onto a small piece of card (just the centre area will show) and tape it behind the die-cut panel.
-
Add gems to the flower centres
-
Cut the turquoise linen card to 4 ¾” x 6 ¾” and mat and layer the white front using foam pads. Glue the whole piece to your card blank.
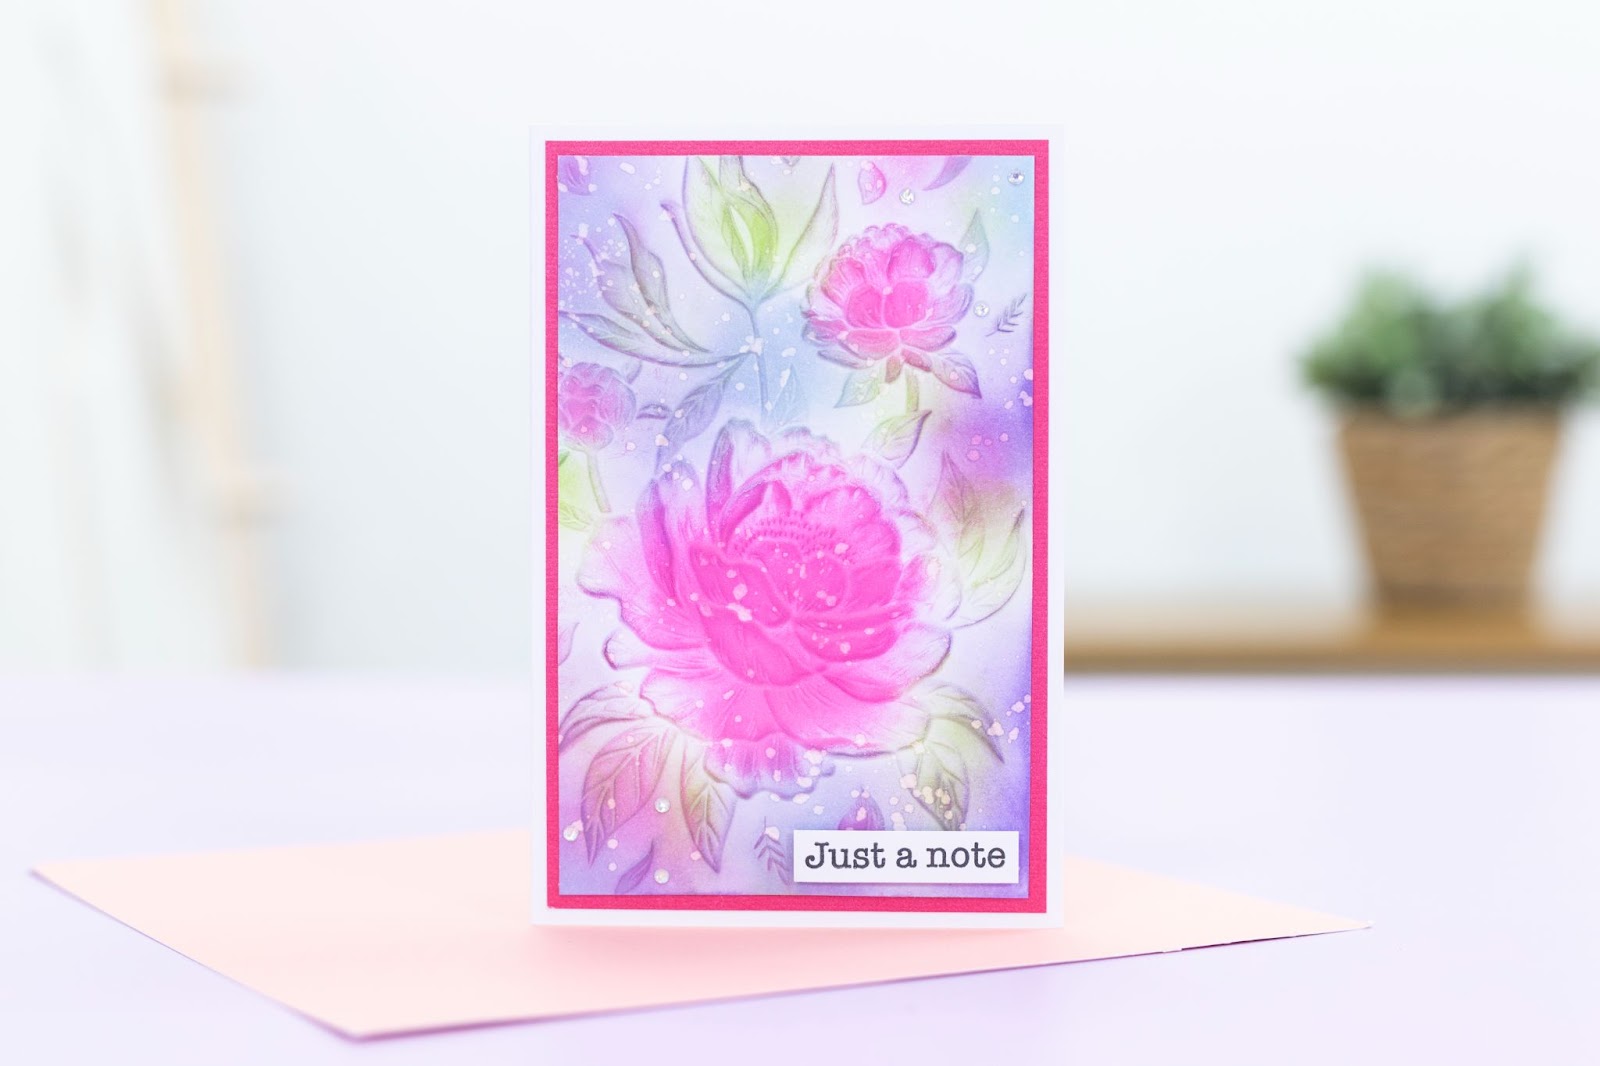
3. Ink-Blended Embossed Card 🌸
Products Used:
-
Delightful Peonies Embossing Folder and Die Set
-
Sentiment Stamps
-
Gems
-
4x6 Card Blank
-
White or Watercolour Card
-
Hot Pink Linen Card
-
Inkpads: Raspberry & Tropic Blue, Stargazer , Midnight Blue, Spring Buds
-
Alcohol-Proof Inkpad: Noir Black
Instructions:
-
Emboss a 5½” x 4½” piece of card and blend your inks over the top.
-
Lightly flick water over the panel using a damp brush for that speckled, textured effect.
-
Mat and layer onto hot pink linen card (5¾” x 4¾”) and glue onto your card blank.
-
Stamp and trim your sentiment, then add it to the bottom right with foam pads.
-
Finish with a trio of gems in the top right and bottom left corners.
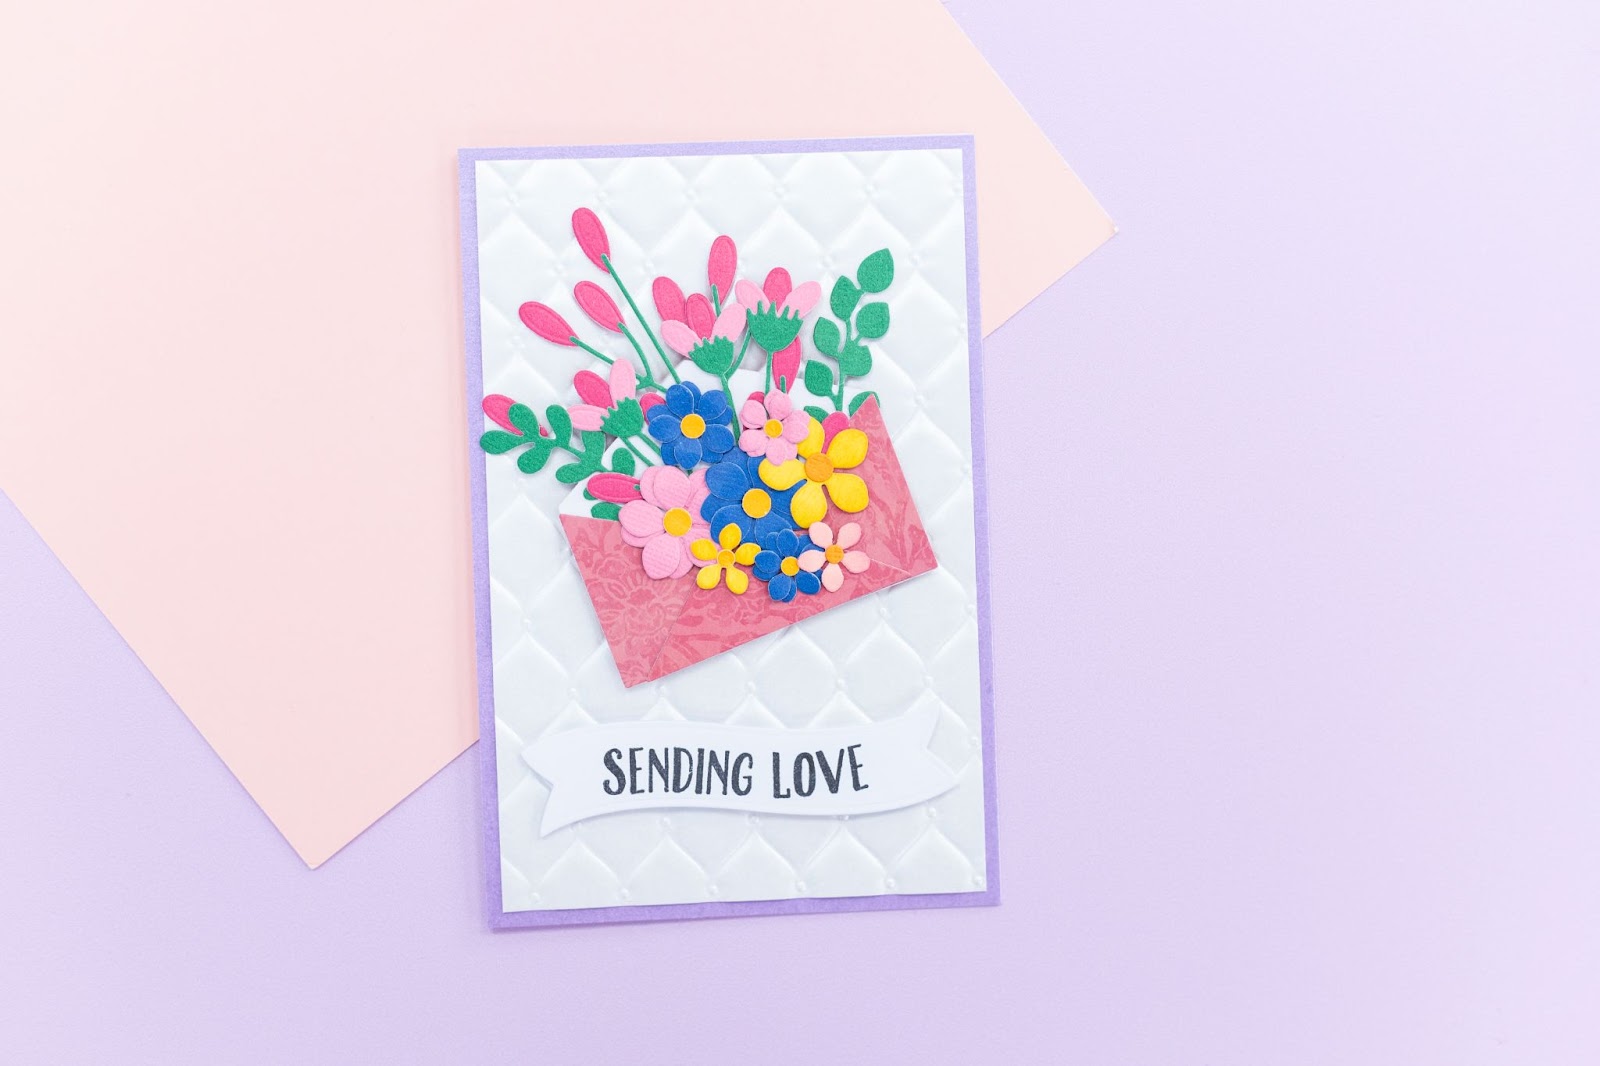
4. Floral Envelope Card 💐
Products Used:
-
Love Is In The Air 6x6 Paper Pad
-
Studded Leather 3D Embossing Folder
-
Centura Pearl Snow White Card
-
Blue, Orange, Yellow, Green, Hot Pink, Pale Pink Linen Card
-
Alcohol-Proof Inkpad: Noir Black
Instructions:
-
Die-cut the envelope using the paper pad, glue the edges, and leave the top open to form a pocket.
-
Die-cut and assemble flowers and foliage using the smallest dies, out of linen card, then glue them inside the envelope to form a bouquet.
-
Emboss a 5¾” x 3¾” piece of pearl card, mat and layer it onto a 4” x 6” pastel purple panel, adhere to your card base.
-
Add the envelope of flowers at an angle using foam pads for dimension.
-
Stamp and die-cut your sentiment, then pop it on the bottom of the card with foam pads.
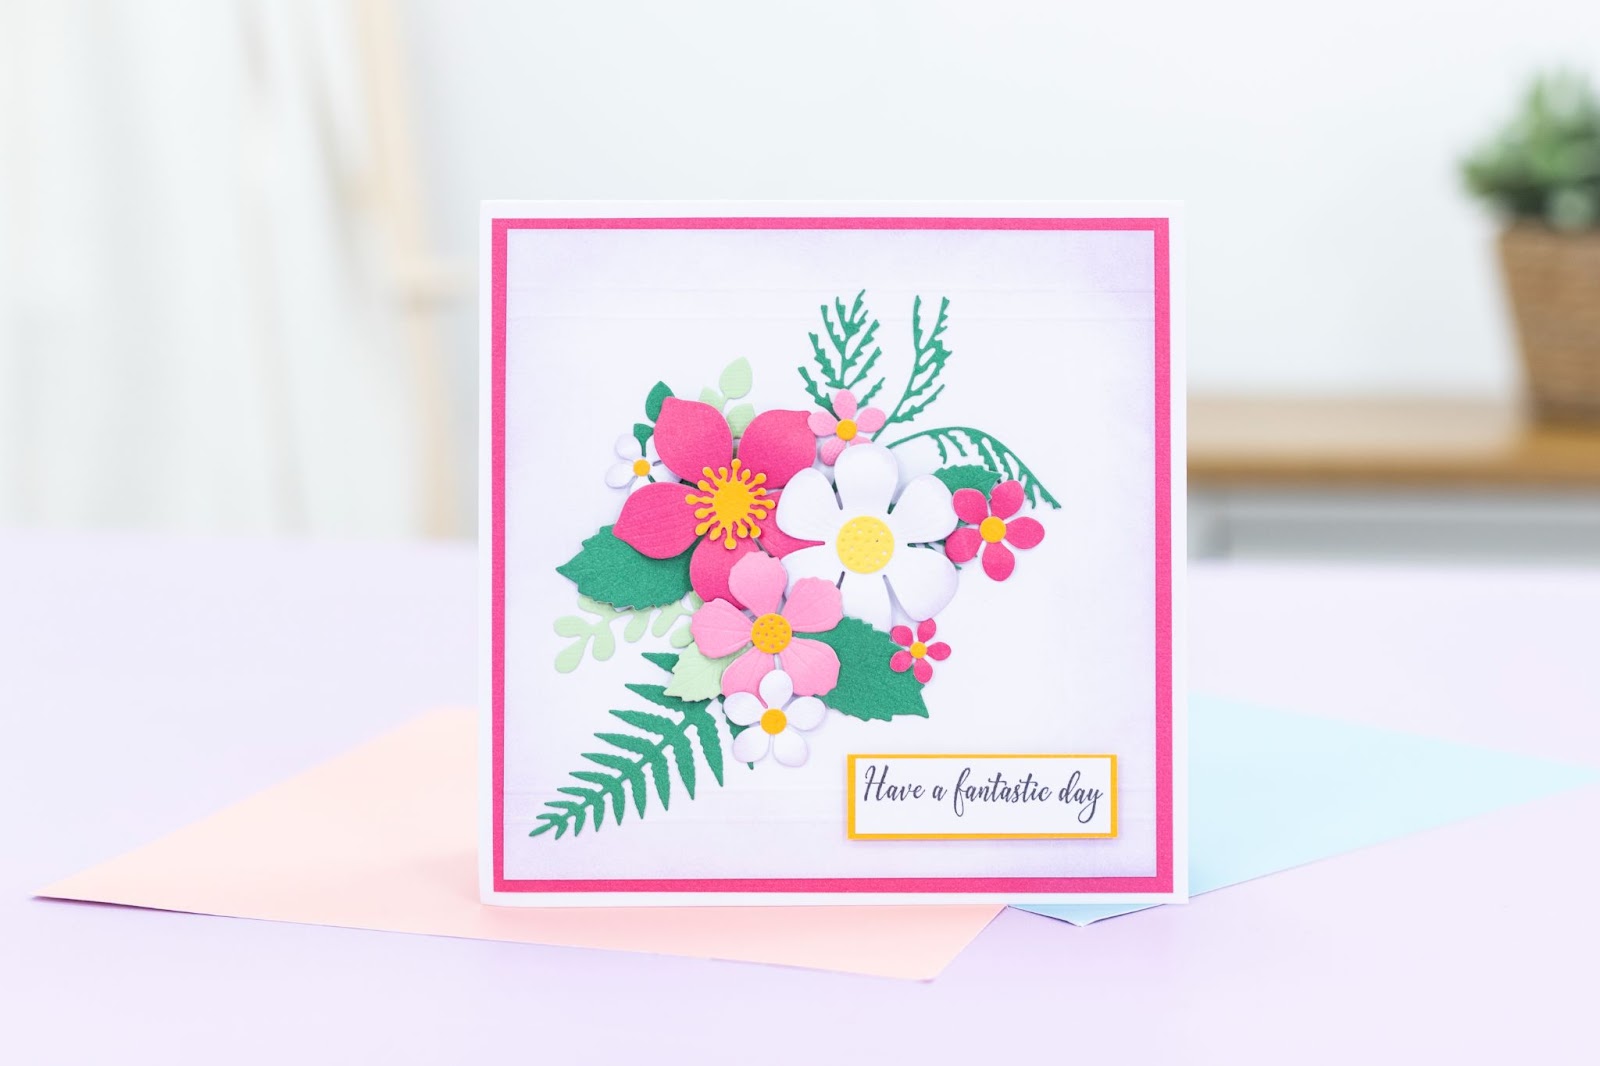
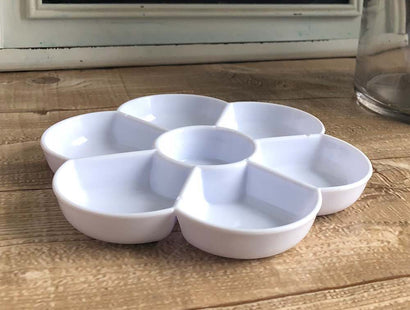
5. Dimensional 6x6 Floral Card 🌺
Products Used:
-
White, Hot Pink, Pale Pink, Green, Orange, Yellow Linen Card
-
Alcohol-Proof Inkpad: Noir Black
-
Scoreboard
Instructions:
-
Cut a white card piece to 5½” square. Score all four sides at ½” and ¾”, then ink the edges with Pale Fig ink.
-
Mat and layer it onto hot pink linen card (5¾” square) and add to your 6x6 card blank. (Top tip: Die-cut your flowers from the centre of the pink card first to save waste!)
-
Die-cut and assemble three large flowers, some small ones, foliage, and flower centres.
-
Arrange and glue down your flowers in the centre, using glue for the foliage and small flowers, and 3D gel glue for the large ones to add height.
-
Stamp, trim, and mat your sentiment, then pop it on the bottom right using foam pads.
And there you have it—five floral cards, each with their own personality and charm! Whether you want to play with textures, add layers, or keep it simple and sweet, these ideas give you plenty of ways to let your creativity bloom.🌷✨